


Migrate Any WordPress Website to a New Domain for Free (2024)
Have you ever needed to migrate your WordPress website to a new domain? Whether your site is a hefty 10 GB or an enormous 100 GB, I’m here to help – and the best part? It’s completely free.
Migrate any WordPress site to a new domain for free using the All-in-One WP Migration plugin. First, export your site, regardless of size. Next, set up a fresh domain, ensuring a clean slate. Finally, import your site, using a modified plugin for larger sizes, easily handling up to 100 GB.
I’m Ferdy, and I’ll walk you through each step using a free tool. So, buckle up, and let’s dive in!
Exporting your WordPress website
Let’s dive right into exporting your WordPress site. I will use my main website (ferdykorpershoek.com) as an example here, which is quite hefty at about 12 GB, thanks to a ton of video content. Don’t worry, though – the process is the same, no matter the size of your site.
First, we’ll need to install a plugin called All-in-One WP Migration.
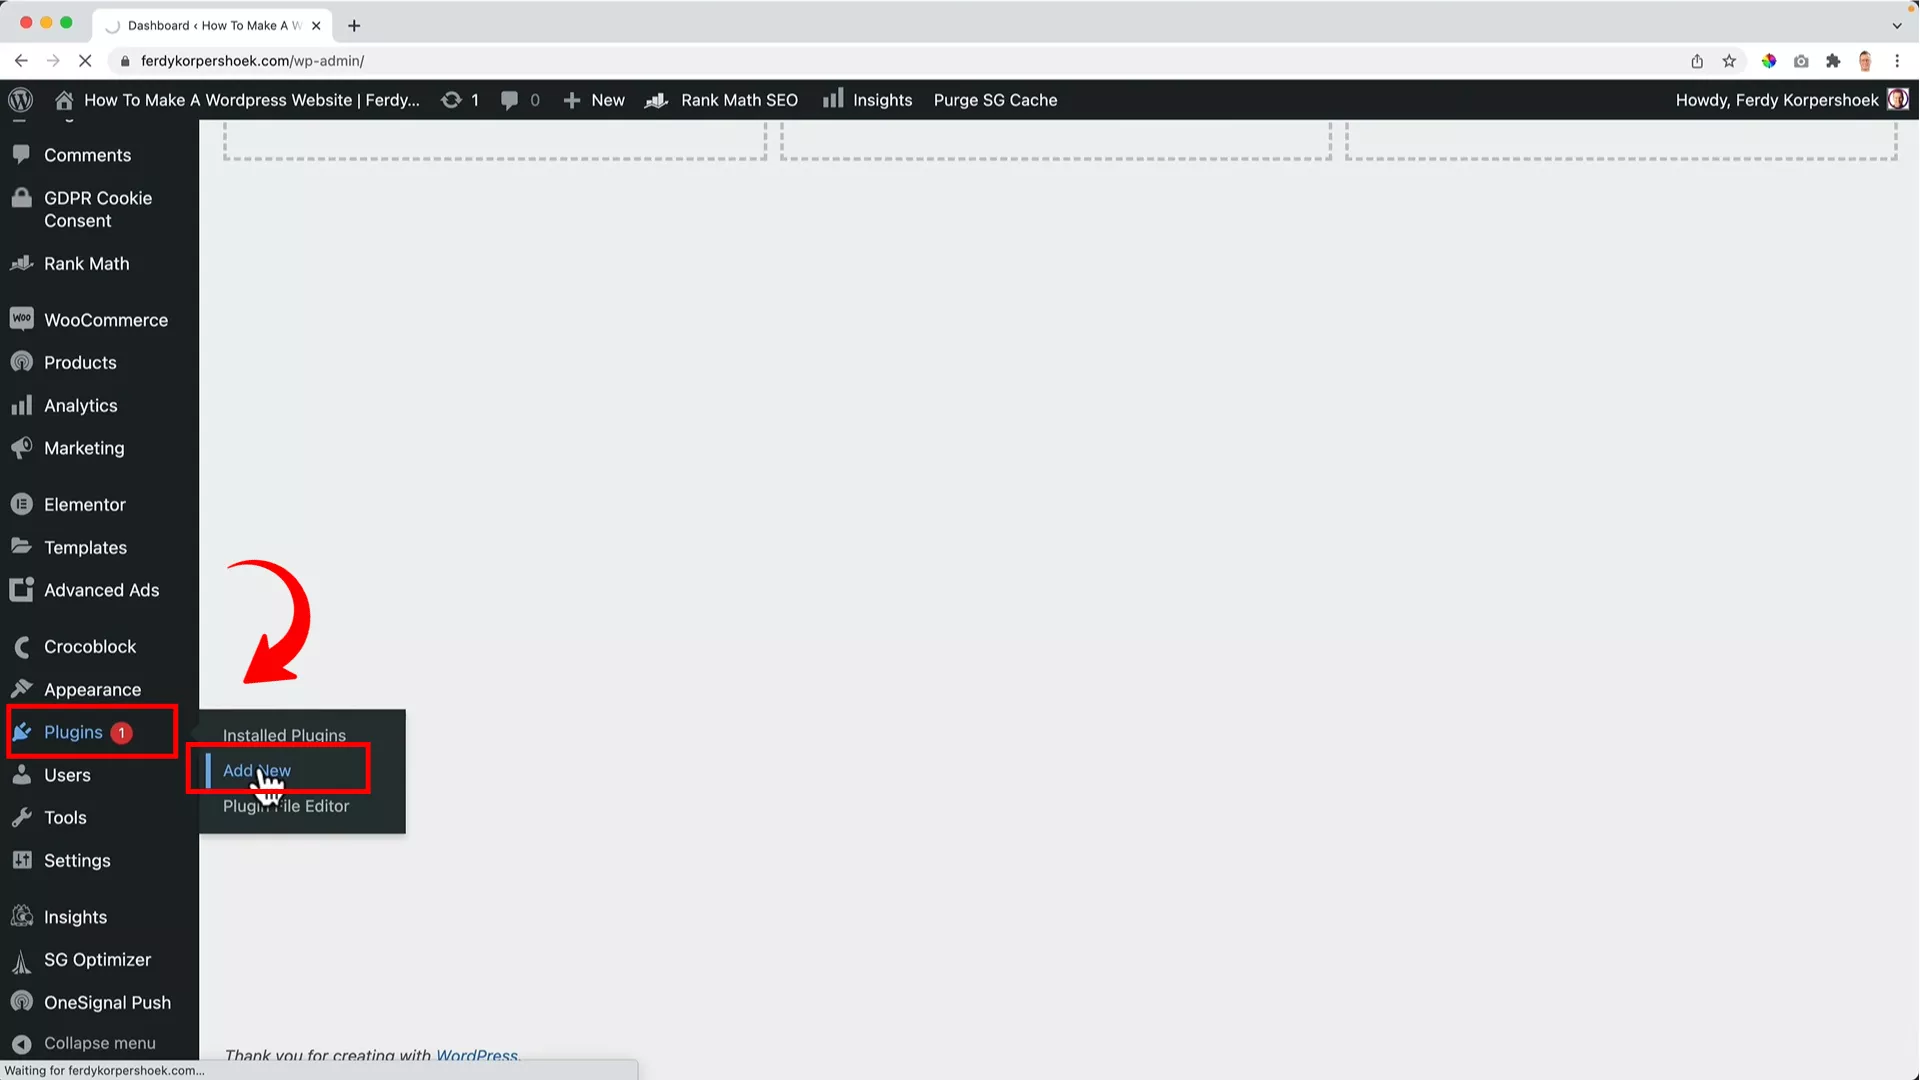
Head to the backend of your WordPress site, hover over Plug-ins and click Add New.
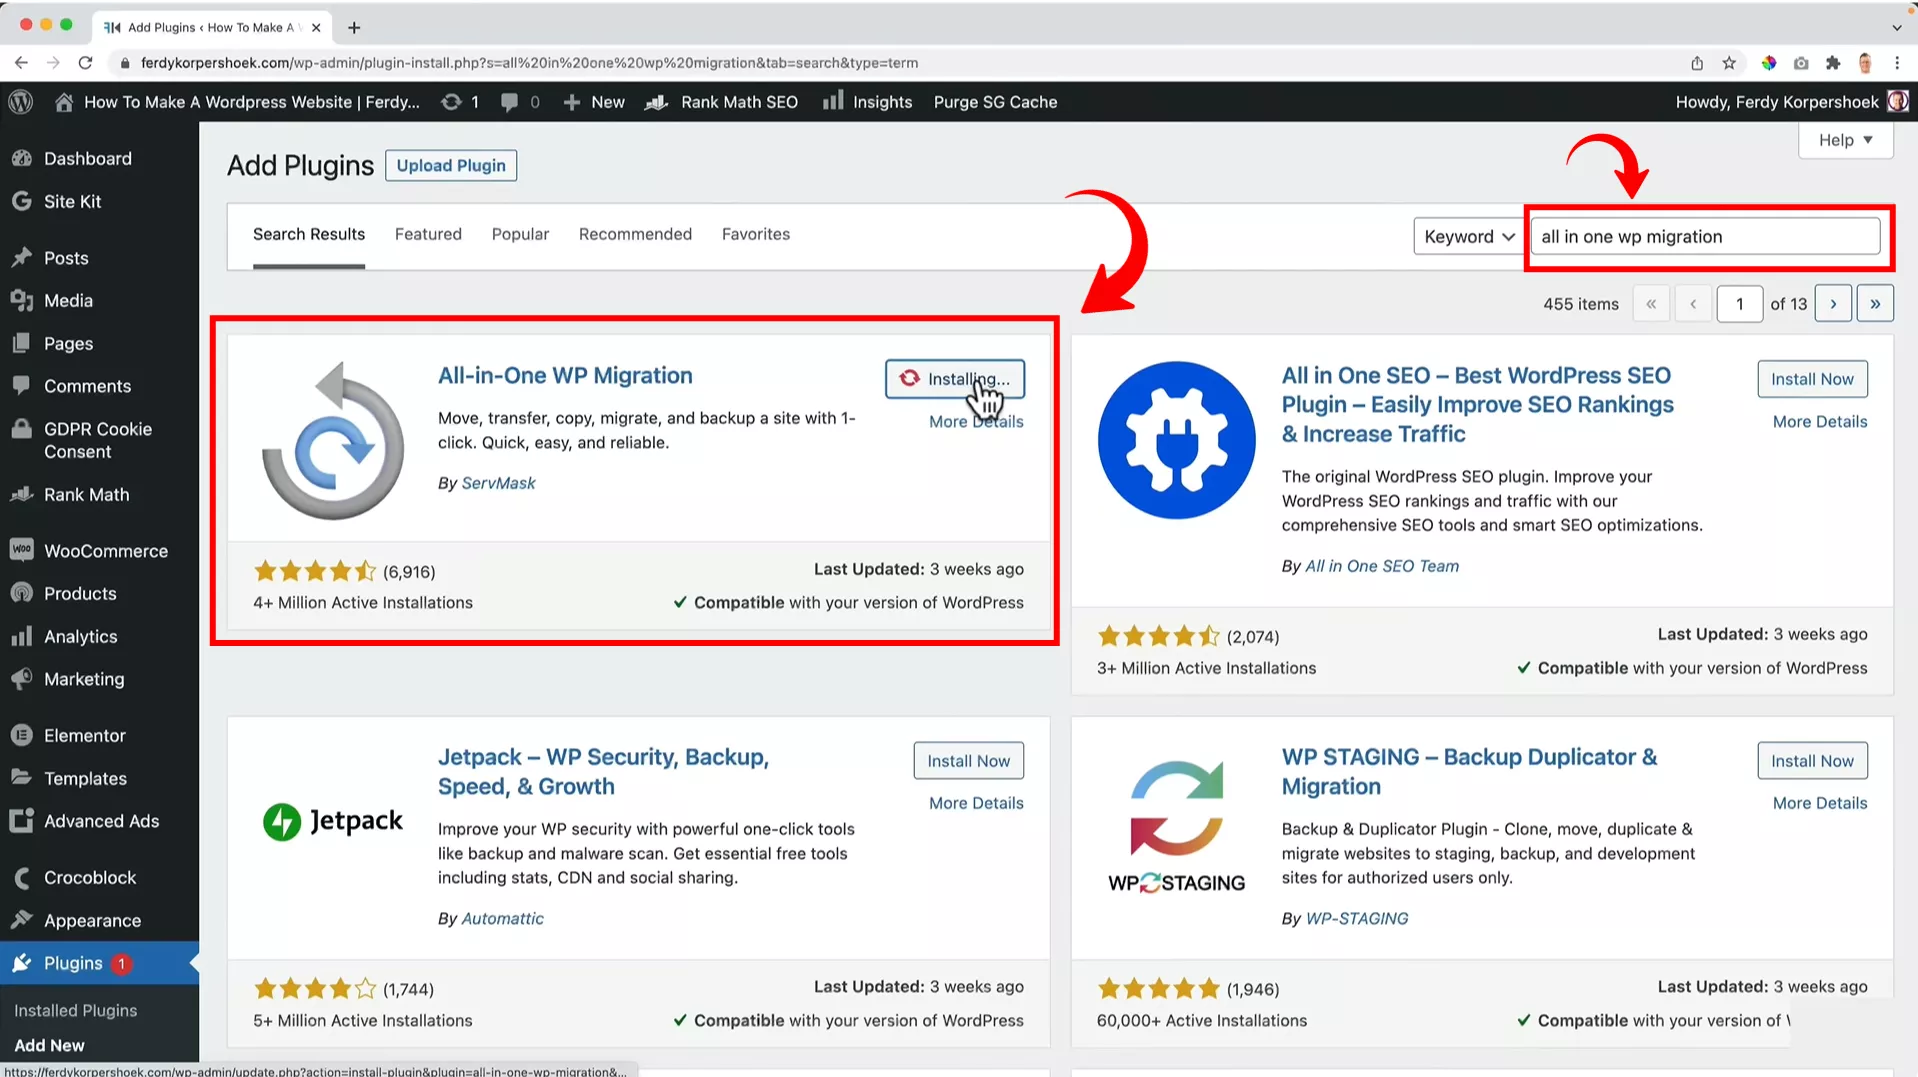
Next, search for All-in-One WP Migration. This plugin is pretty popular – you’ll see it has a ton of installations and great reviews.
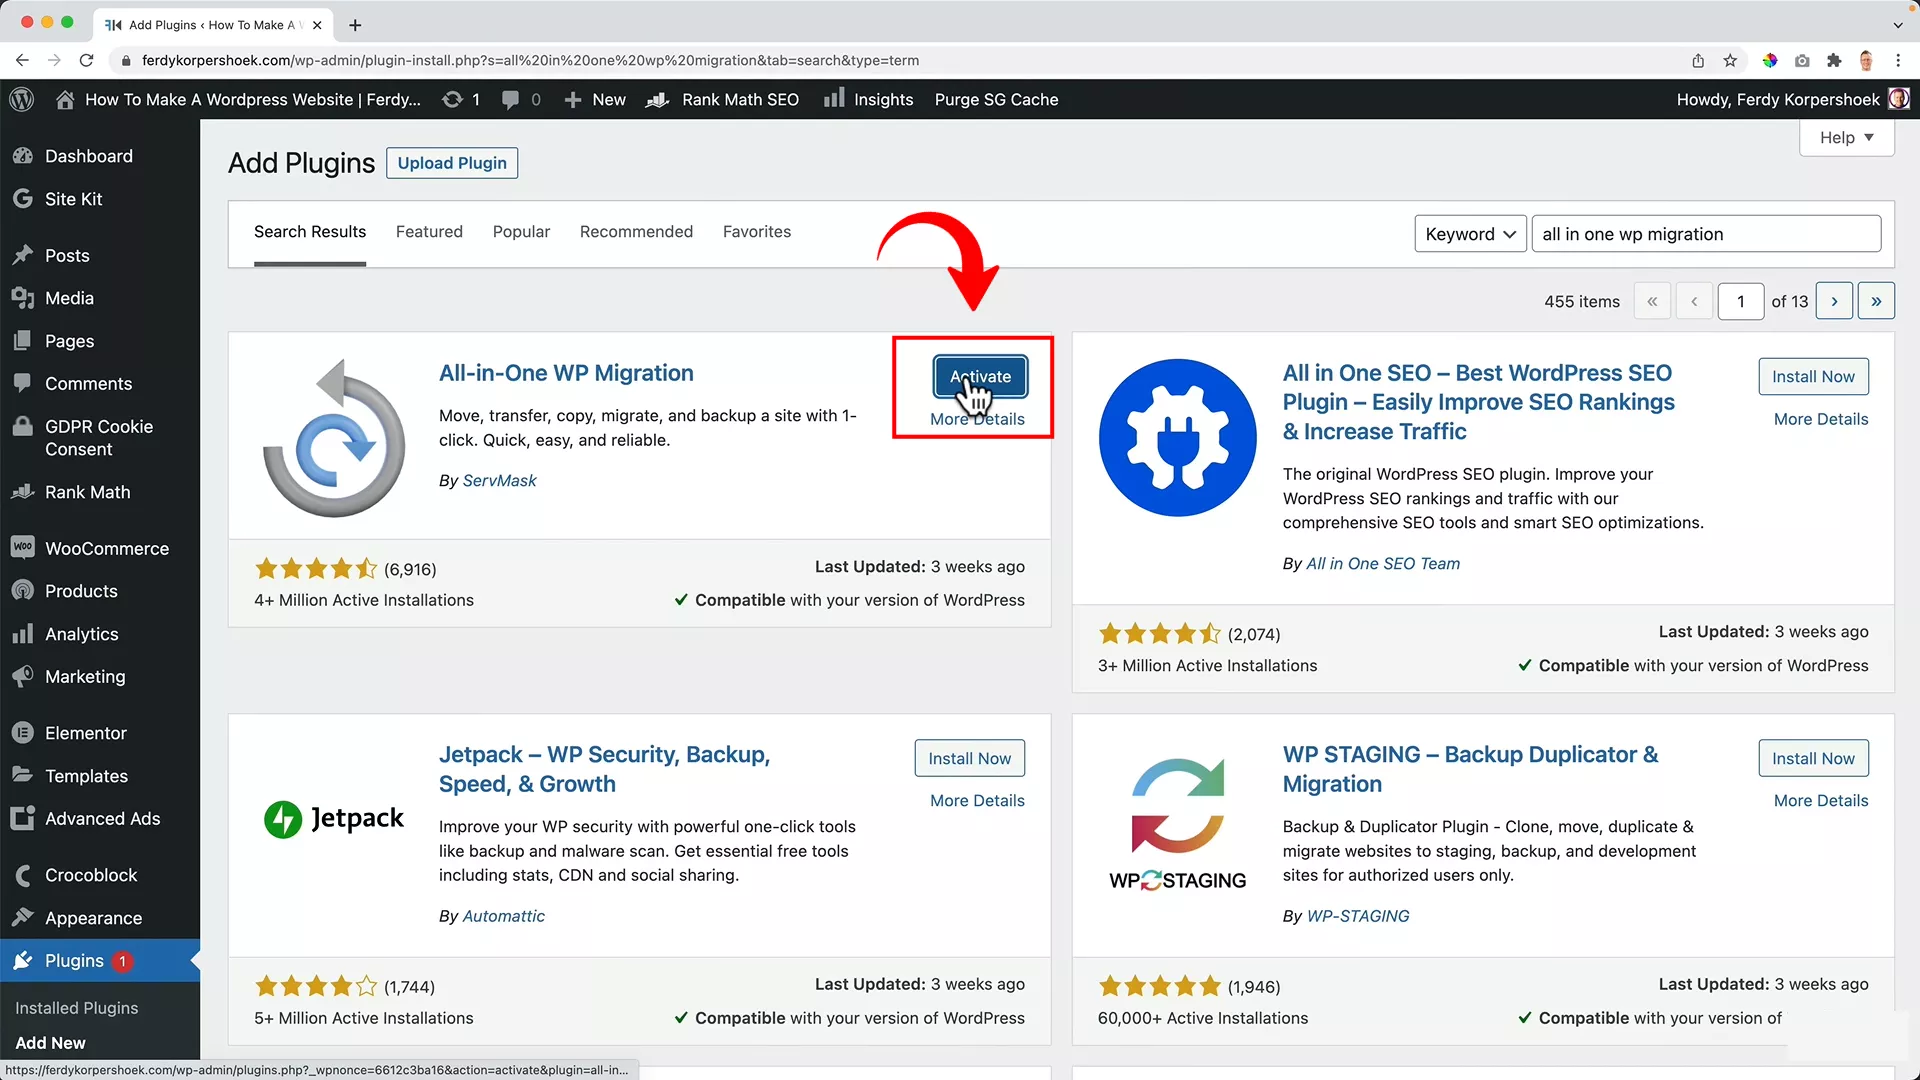
Go ahead and click Install Now -> Activate.
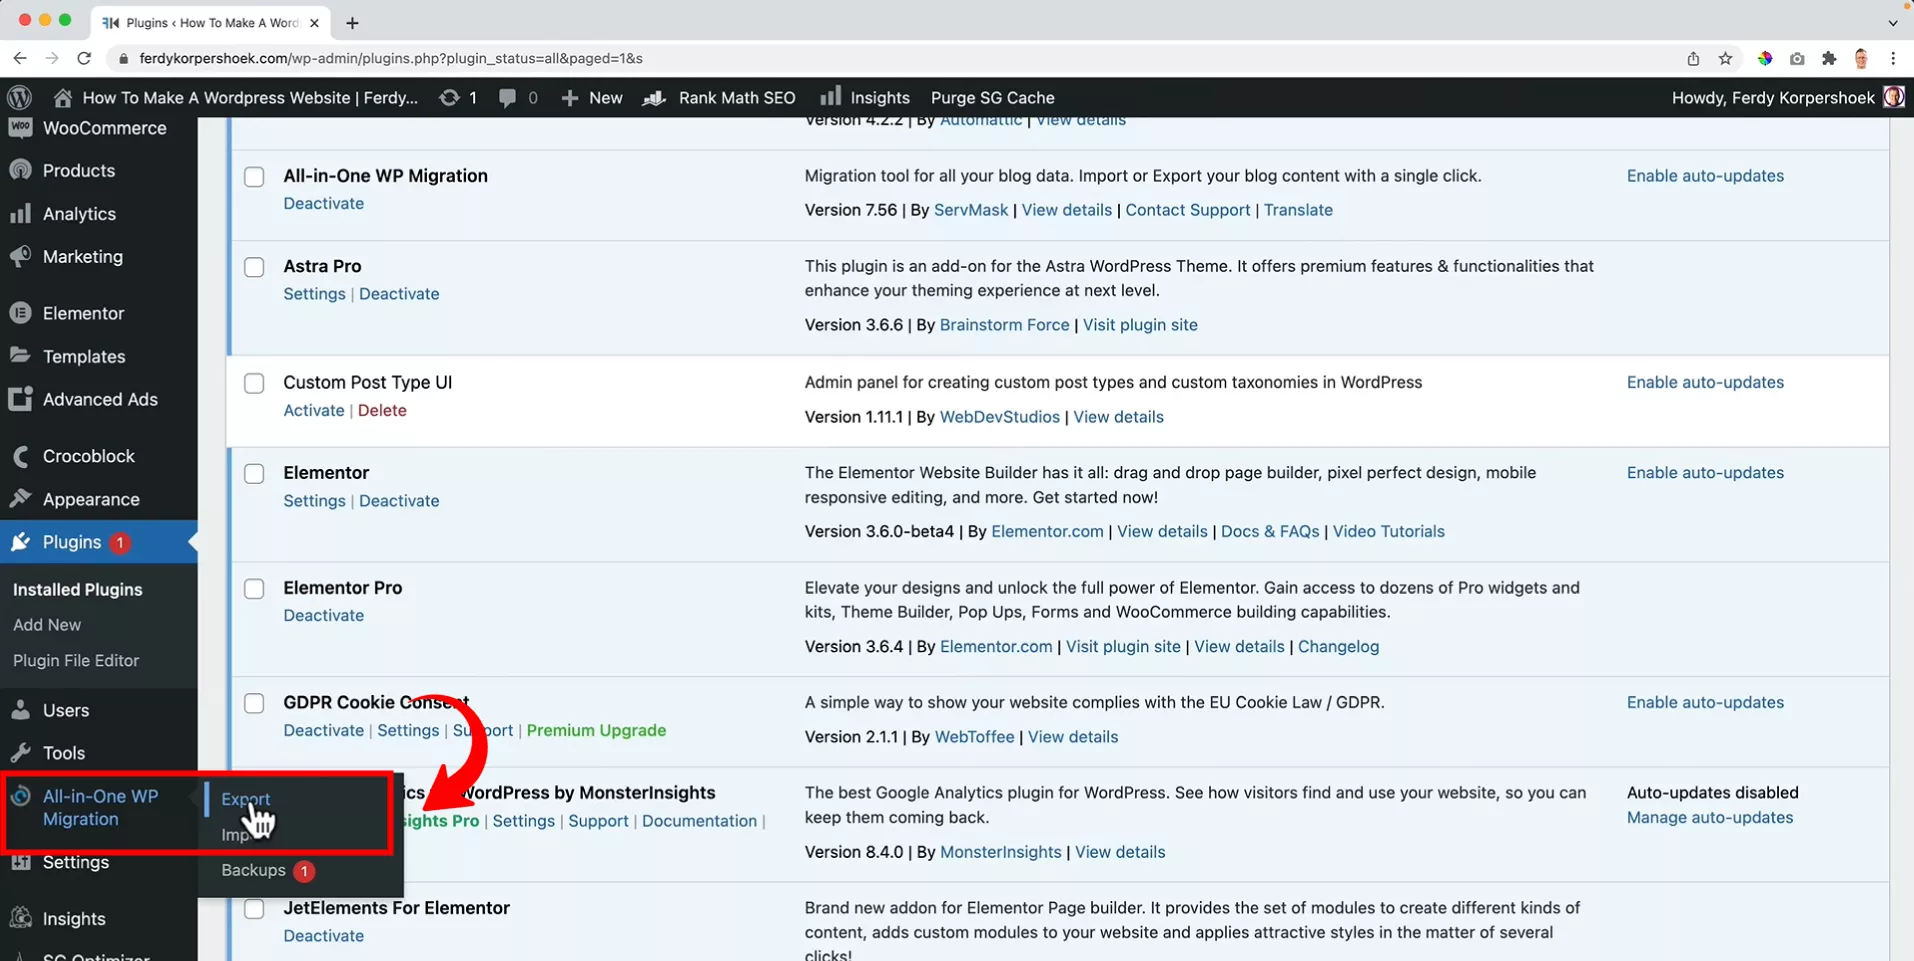
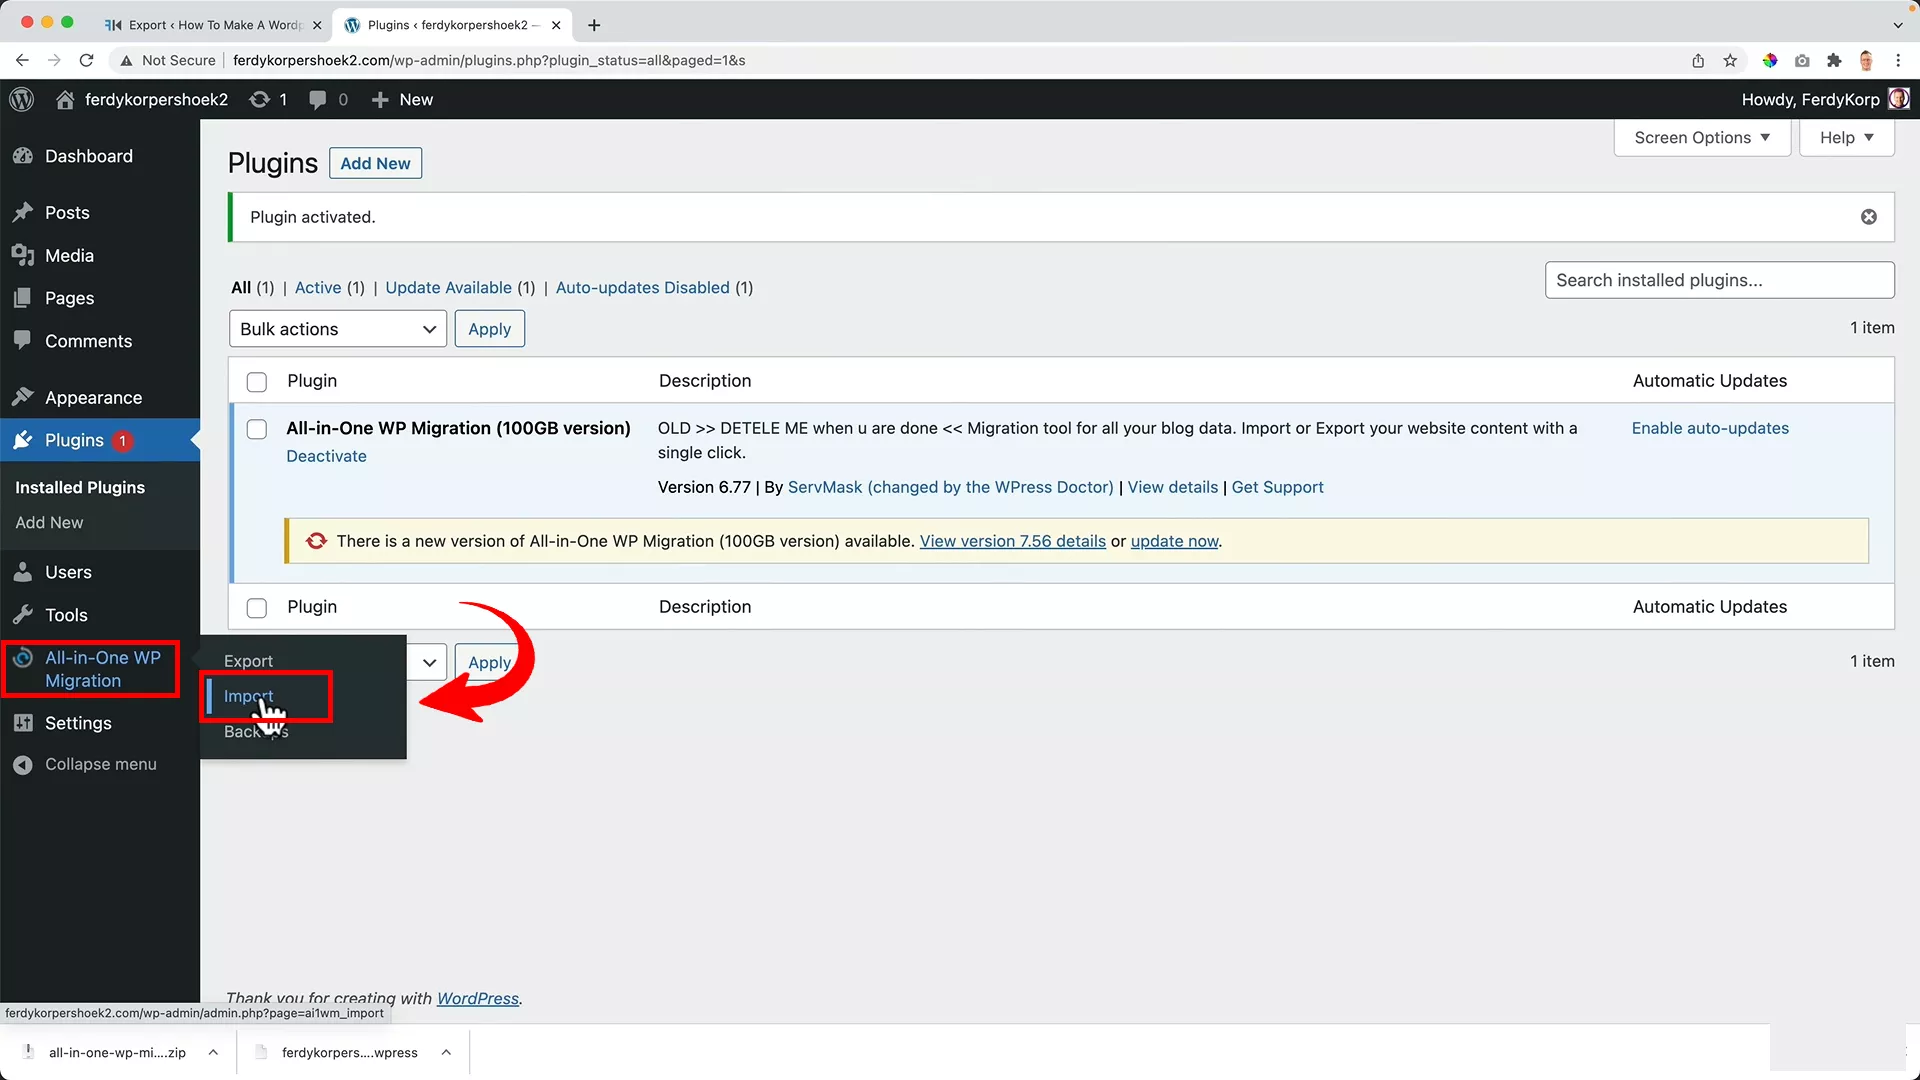
Once the plugin is activated, navigate to the All-in-One WP Migration plugin on your WordPress dashboard on the left and click Export.
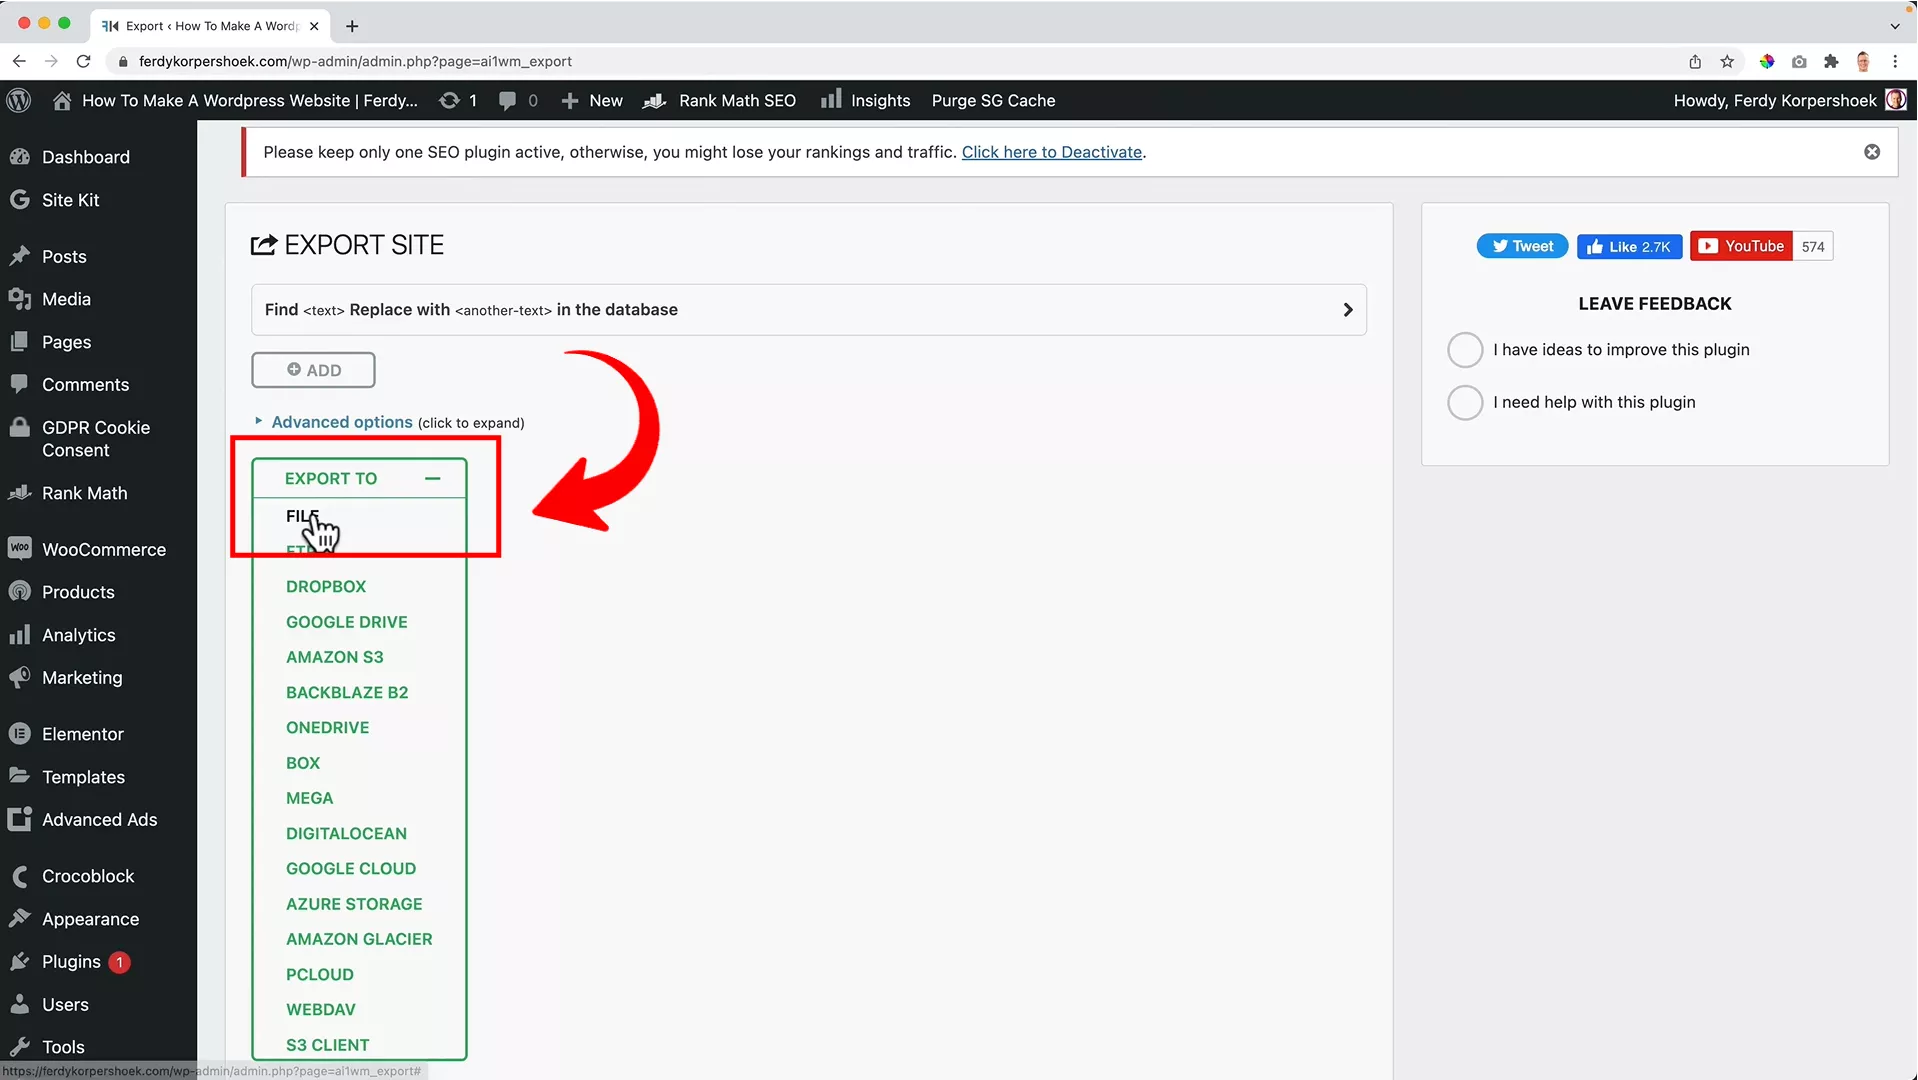
Select File from the Export To dropdown to start the export process.
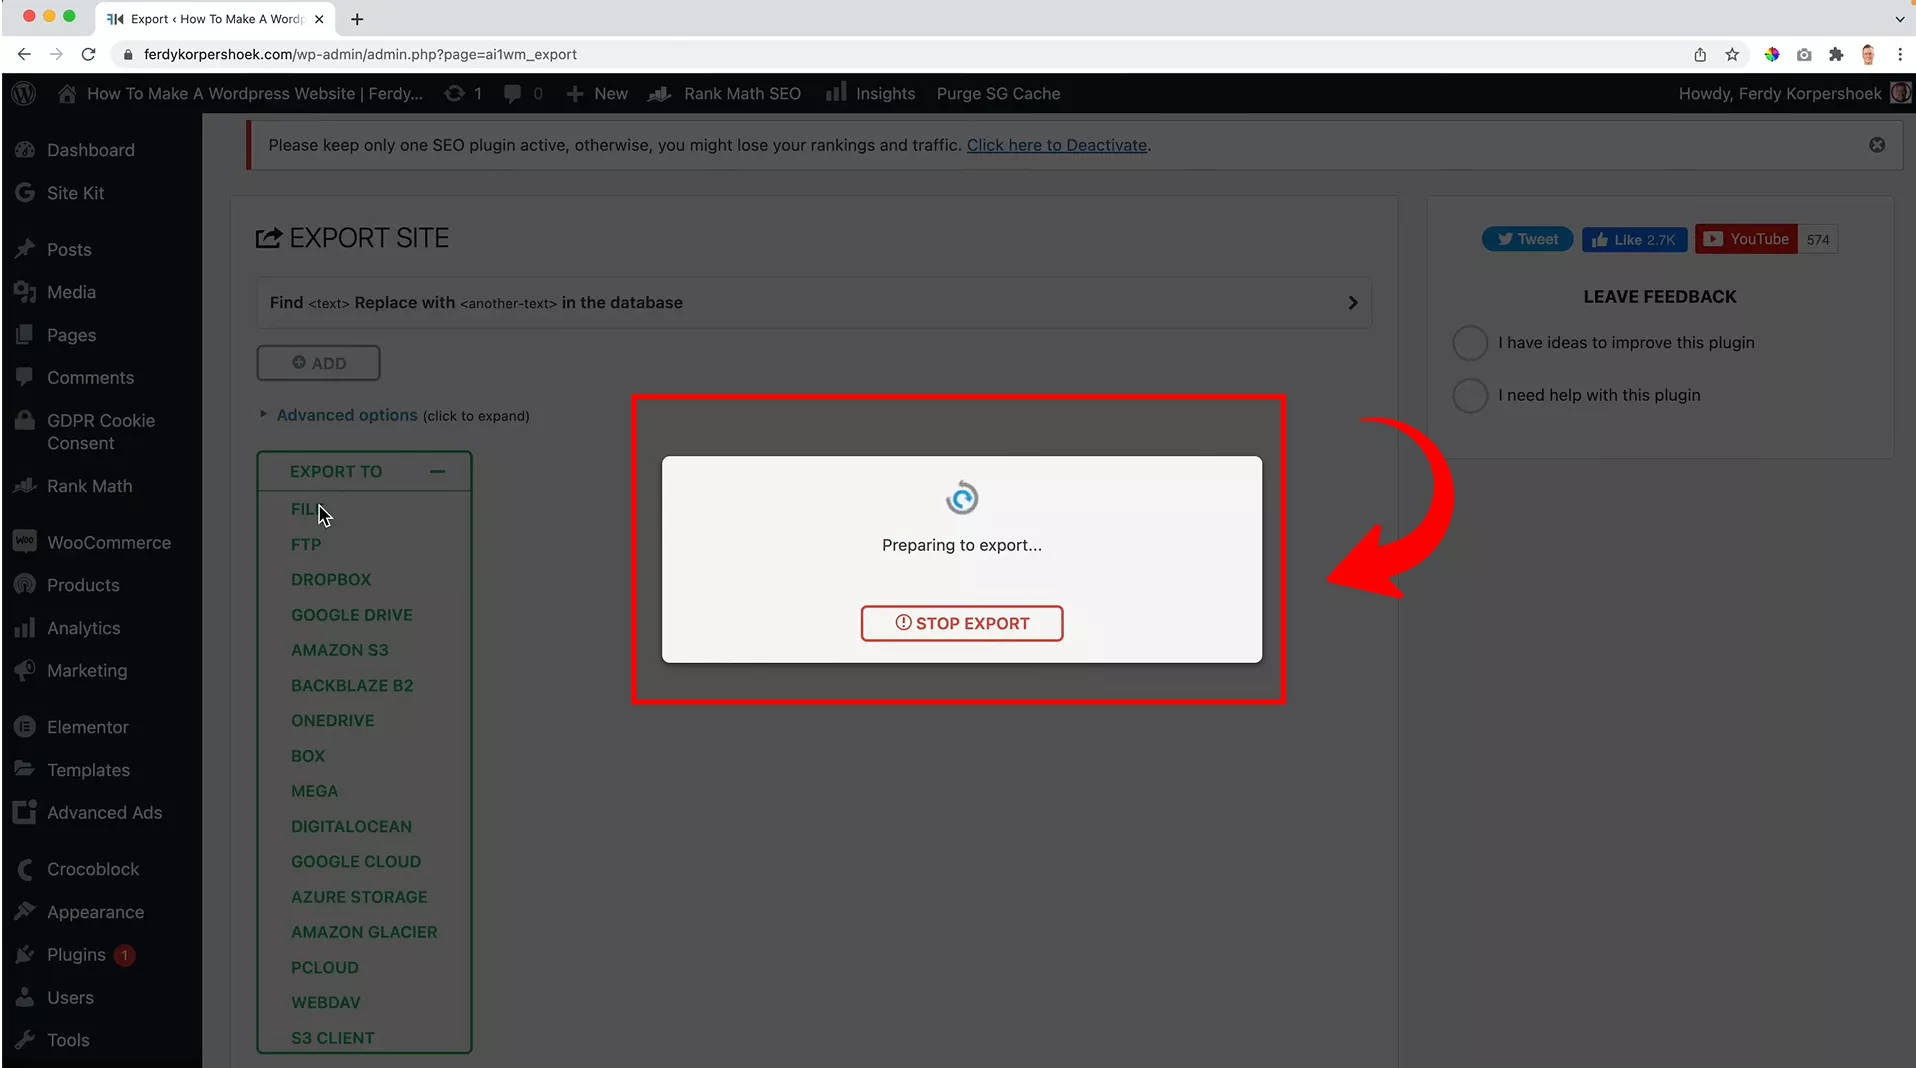
If your website is on the larger side like mine, it might take a little while to prepare the export. Smaller websites, around 200 MB, will export much faster (within a few seconds, to be precise).

When the export is ready, you’ll see a dialog like the one in the image above. Click on the Download button to save the file – it’s your entire website packaged up neatly.
Again, for a website the size of mine (12 GB), the download might take some time, but it’s generally pretty quick.
And there you have it, your entire WordPress website, no matter how big or small, exported in just a few clicks. Simple, right?
In the next section, let’s explore how to set up your new domain and prepare for the import.
Setting up a new domain
Once you’ve successfully exported your website, the next step is prepping your new domain for the big move. Here’s how I set up my new demo site, ferdykorpershoek2.com, for a seamless migration.
Step #1: Start from scratch
Start with a fresh WordPress installation on your new domain. To ensure everything’s tidy, you’ll want to clear out all existing content.
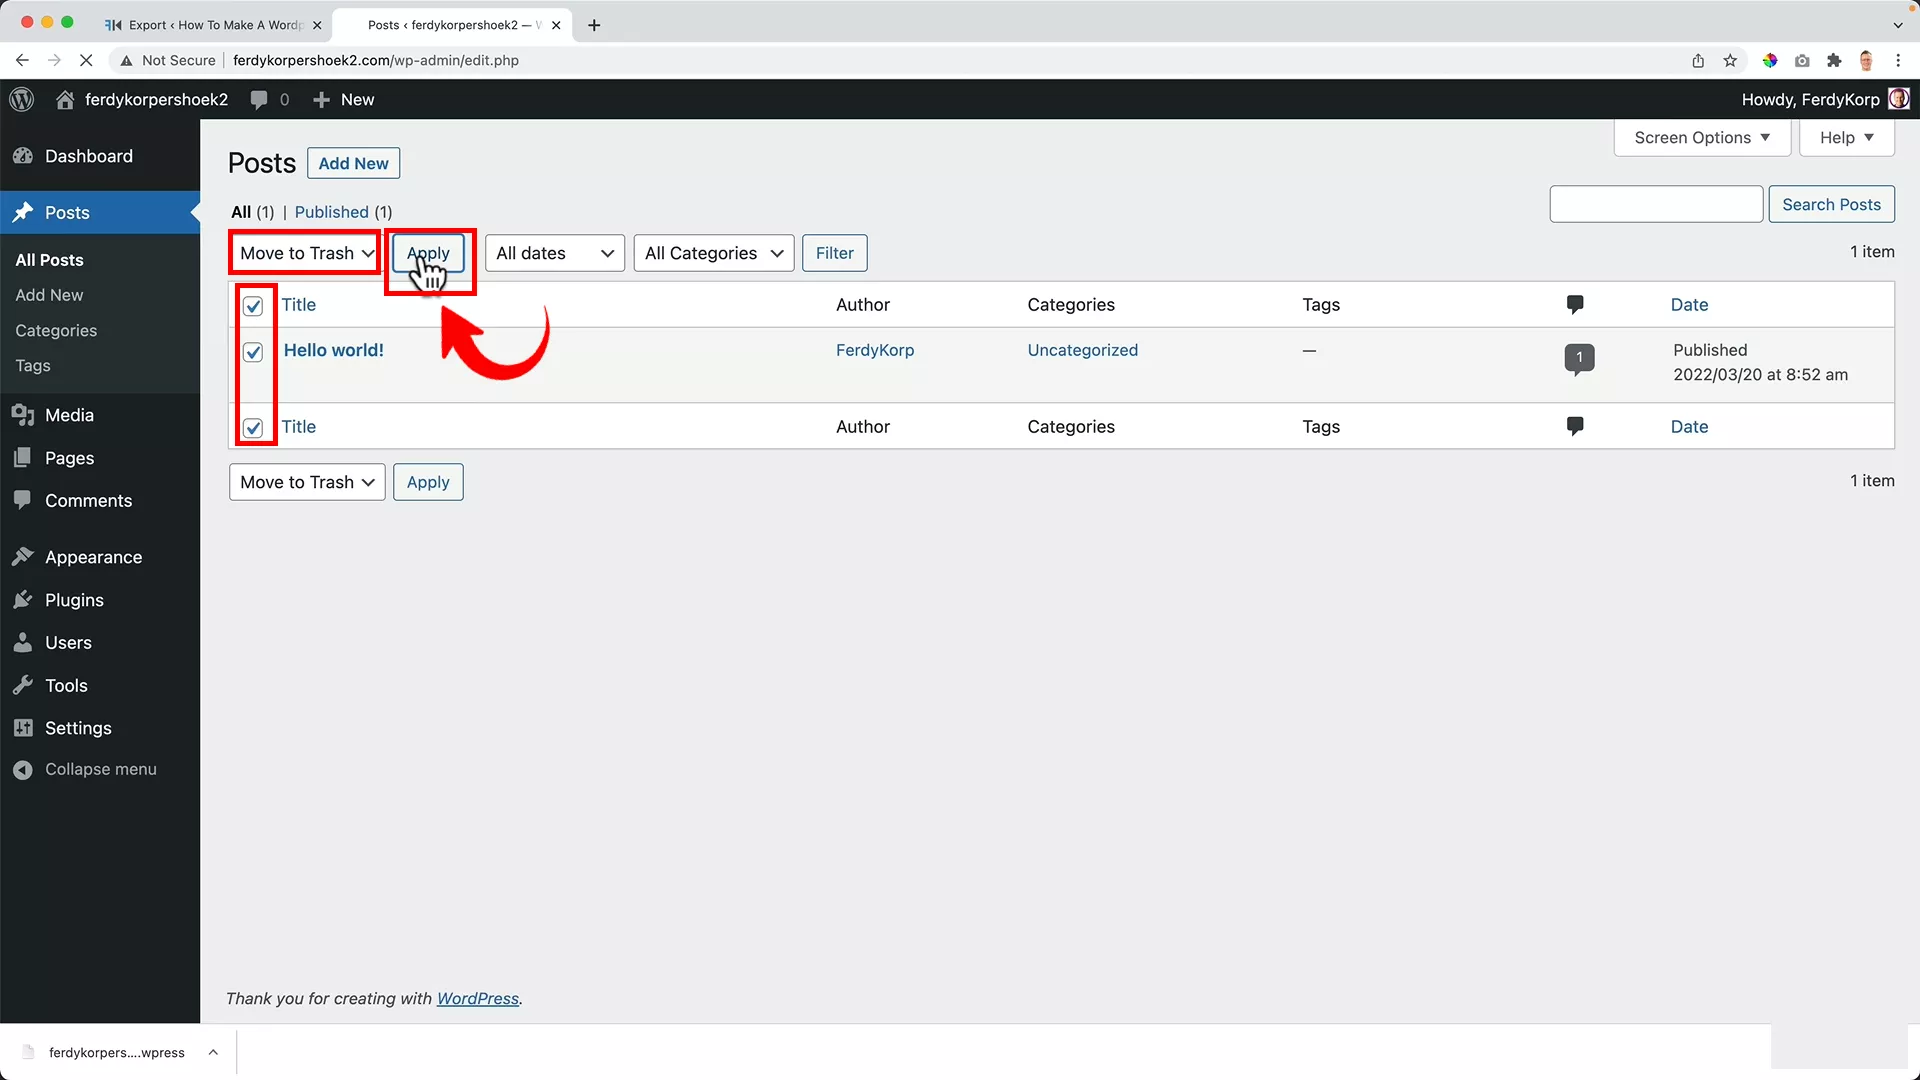
This means heading to the Posts section and deleting all posts. To do that, select all posts > Bulk actions > Move to Trash > Apply.
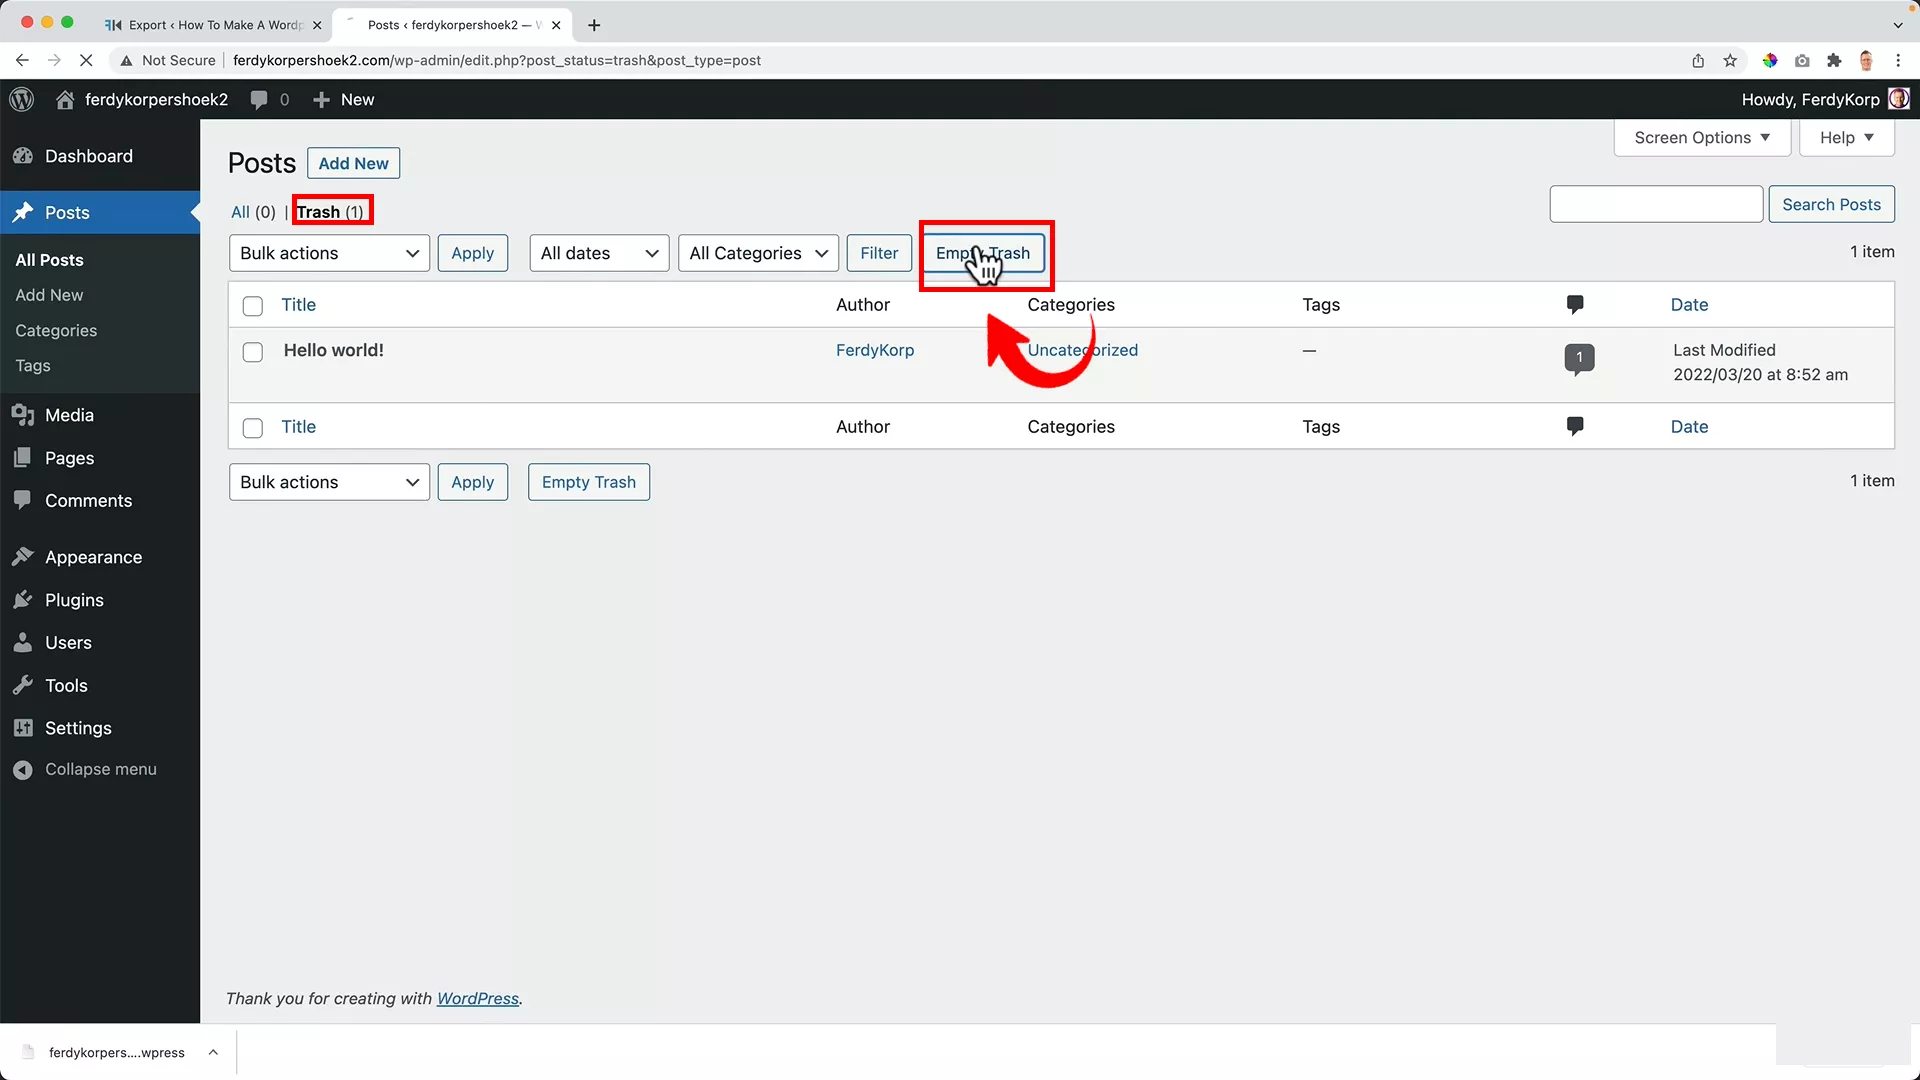
Next, click Trash > Empty Trash
Step #2: Clear all pages
Apply the same process to your Pages.
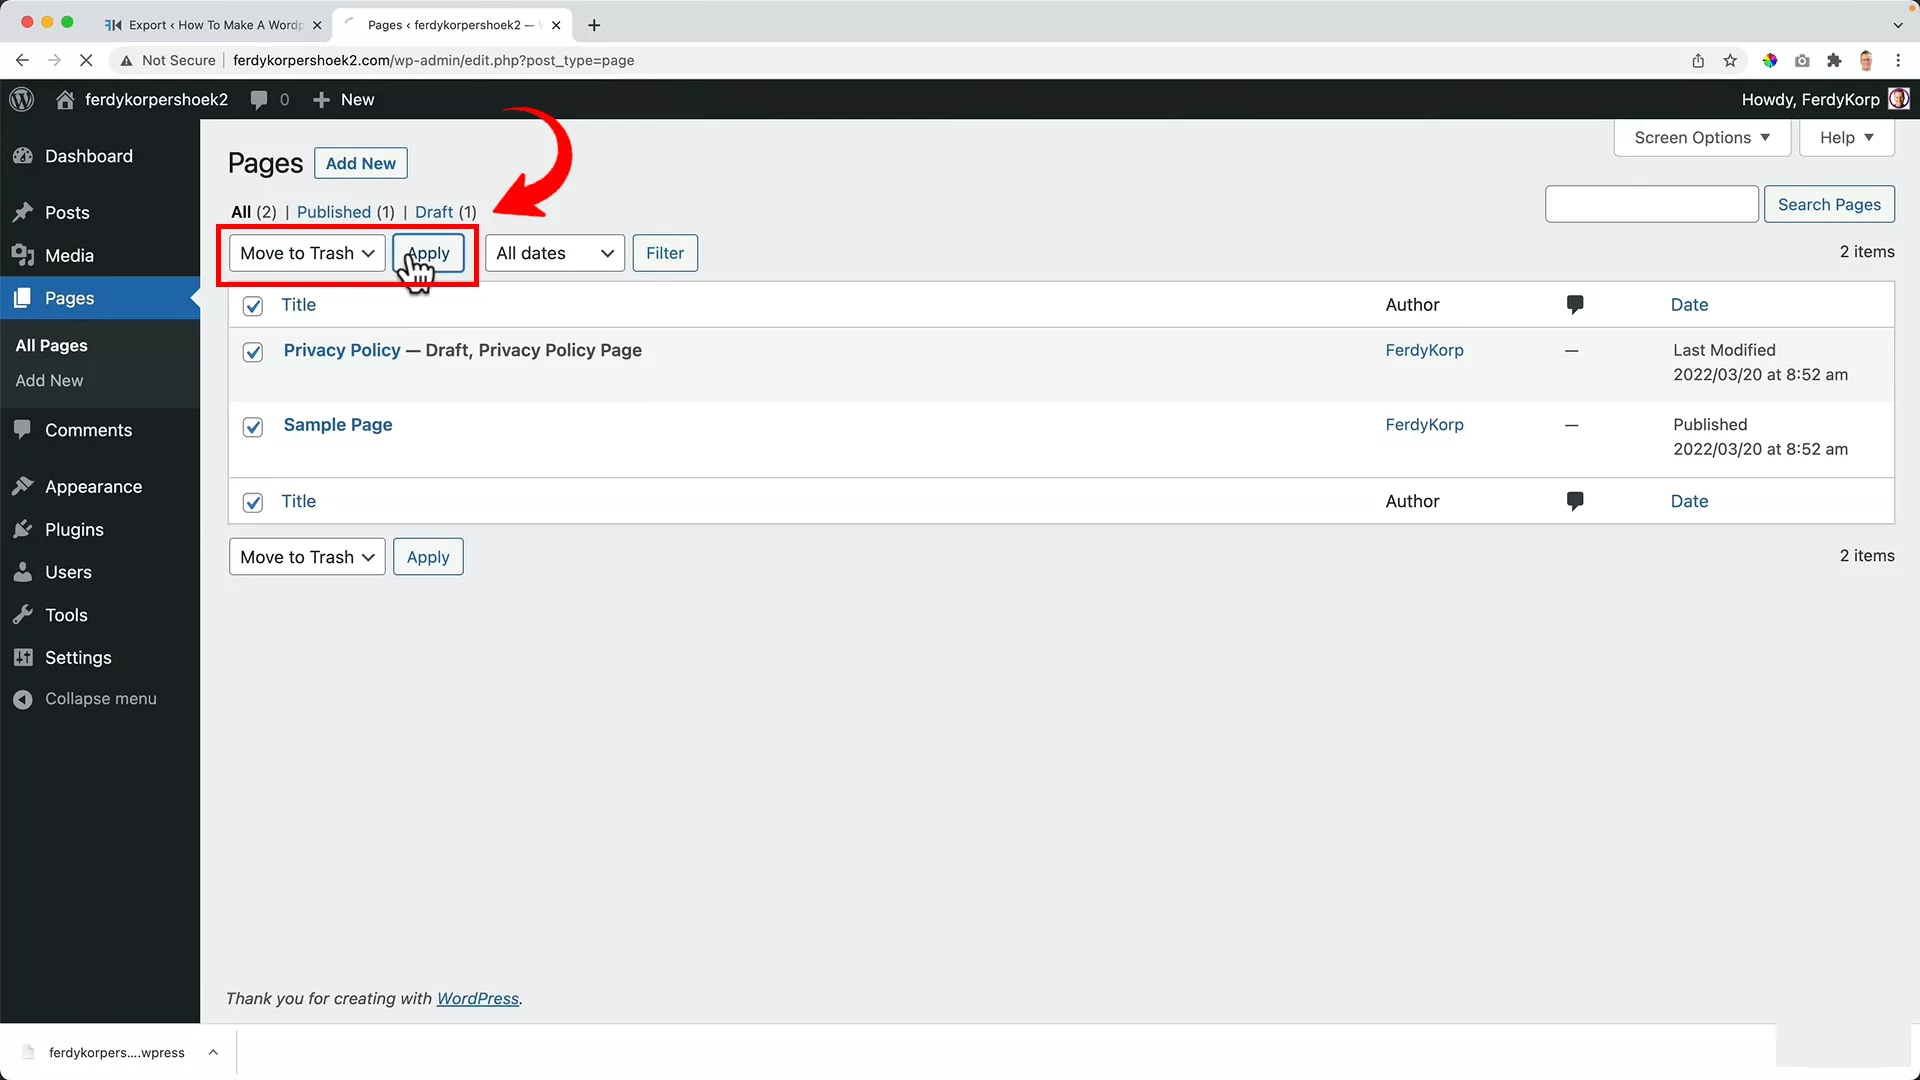
Select all pages, move them to the trash, and apply.
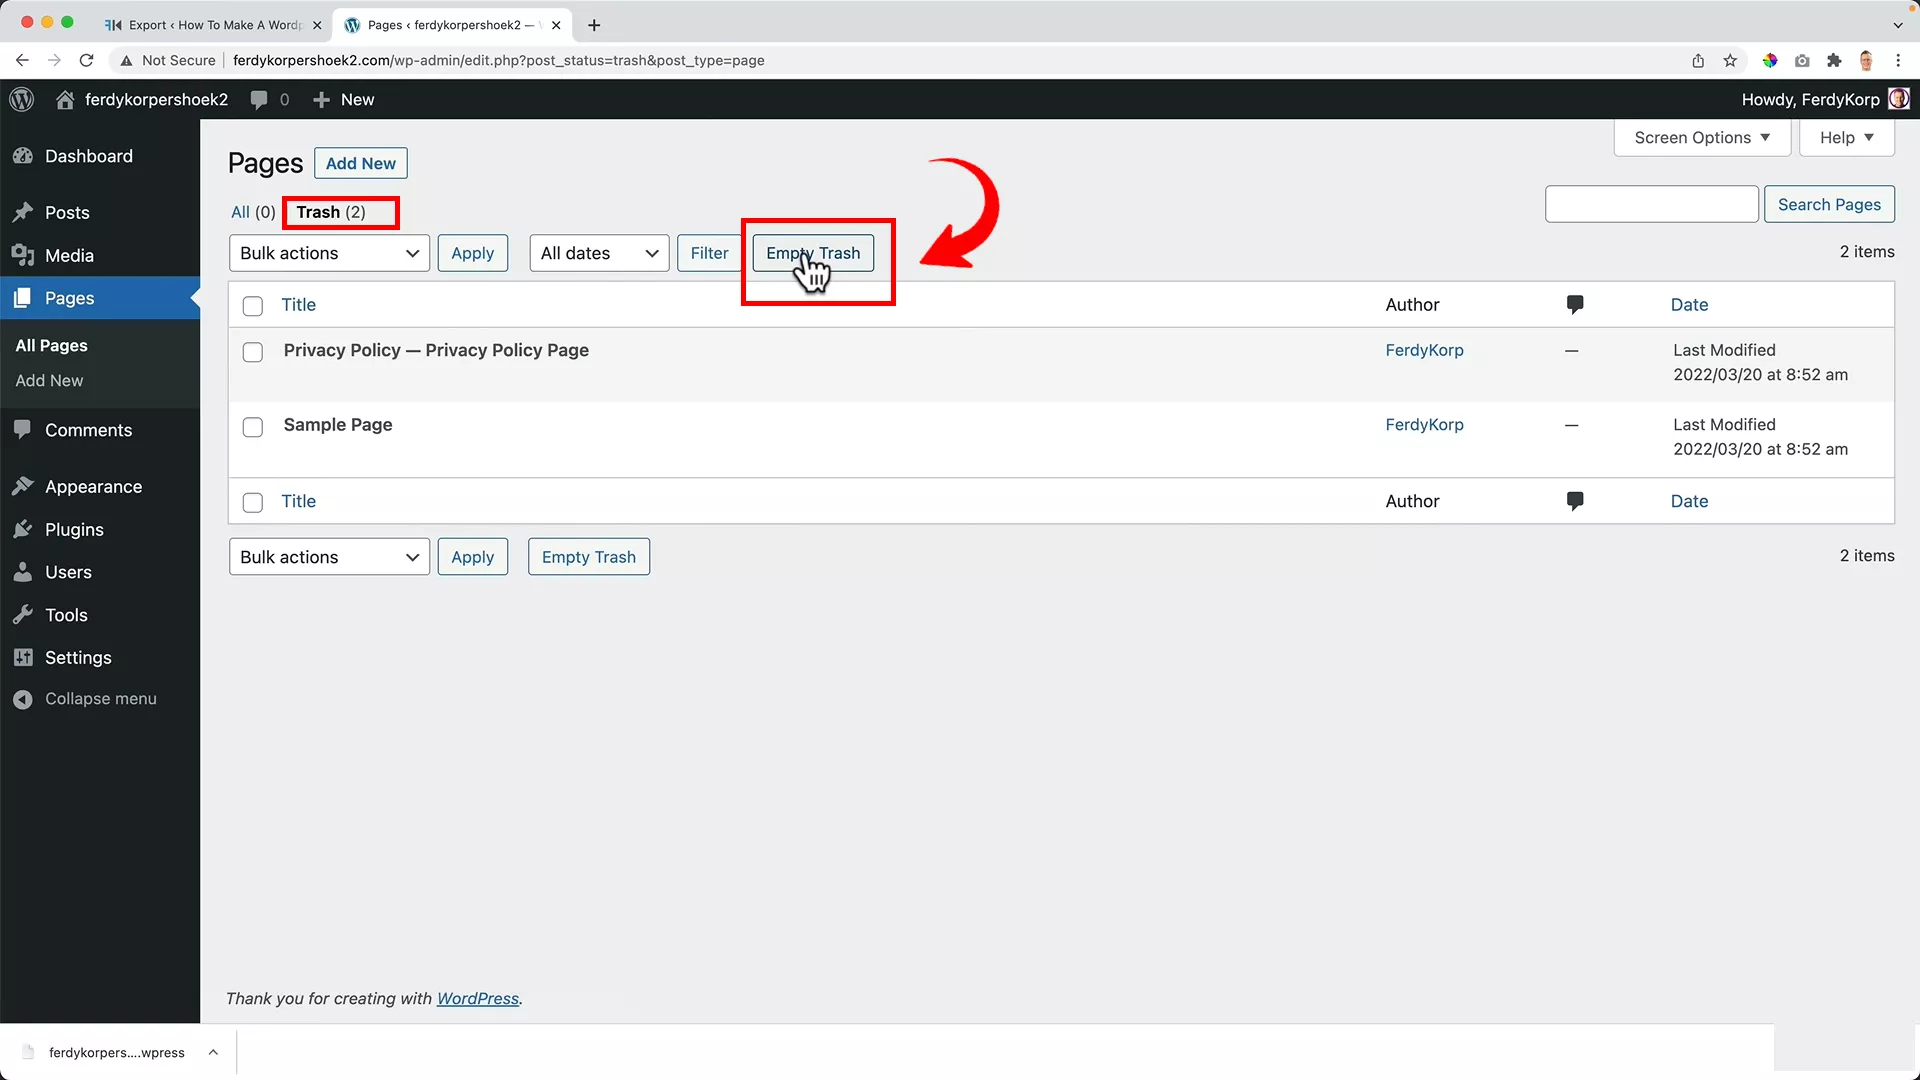
Again, navigate to the Trash tab and hit the Empty Trash button.
Doing this step ensures no old pages interfere with the migrated content.
Step #3: Media and themes cleanup
If there’s any media in the library, it’s best to clear it out too. I have none.
In case you do, use bulk select to remove all items.
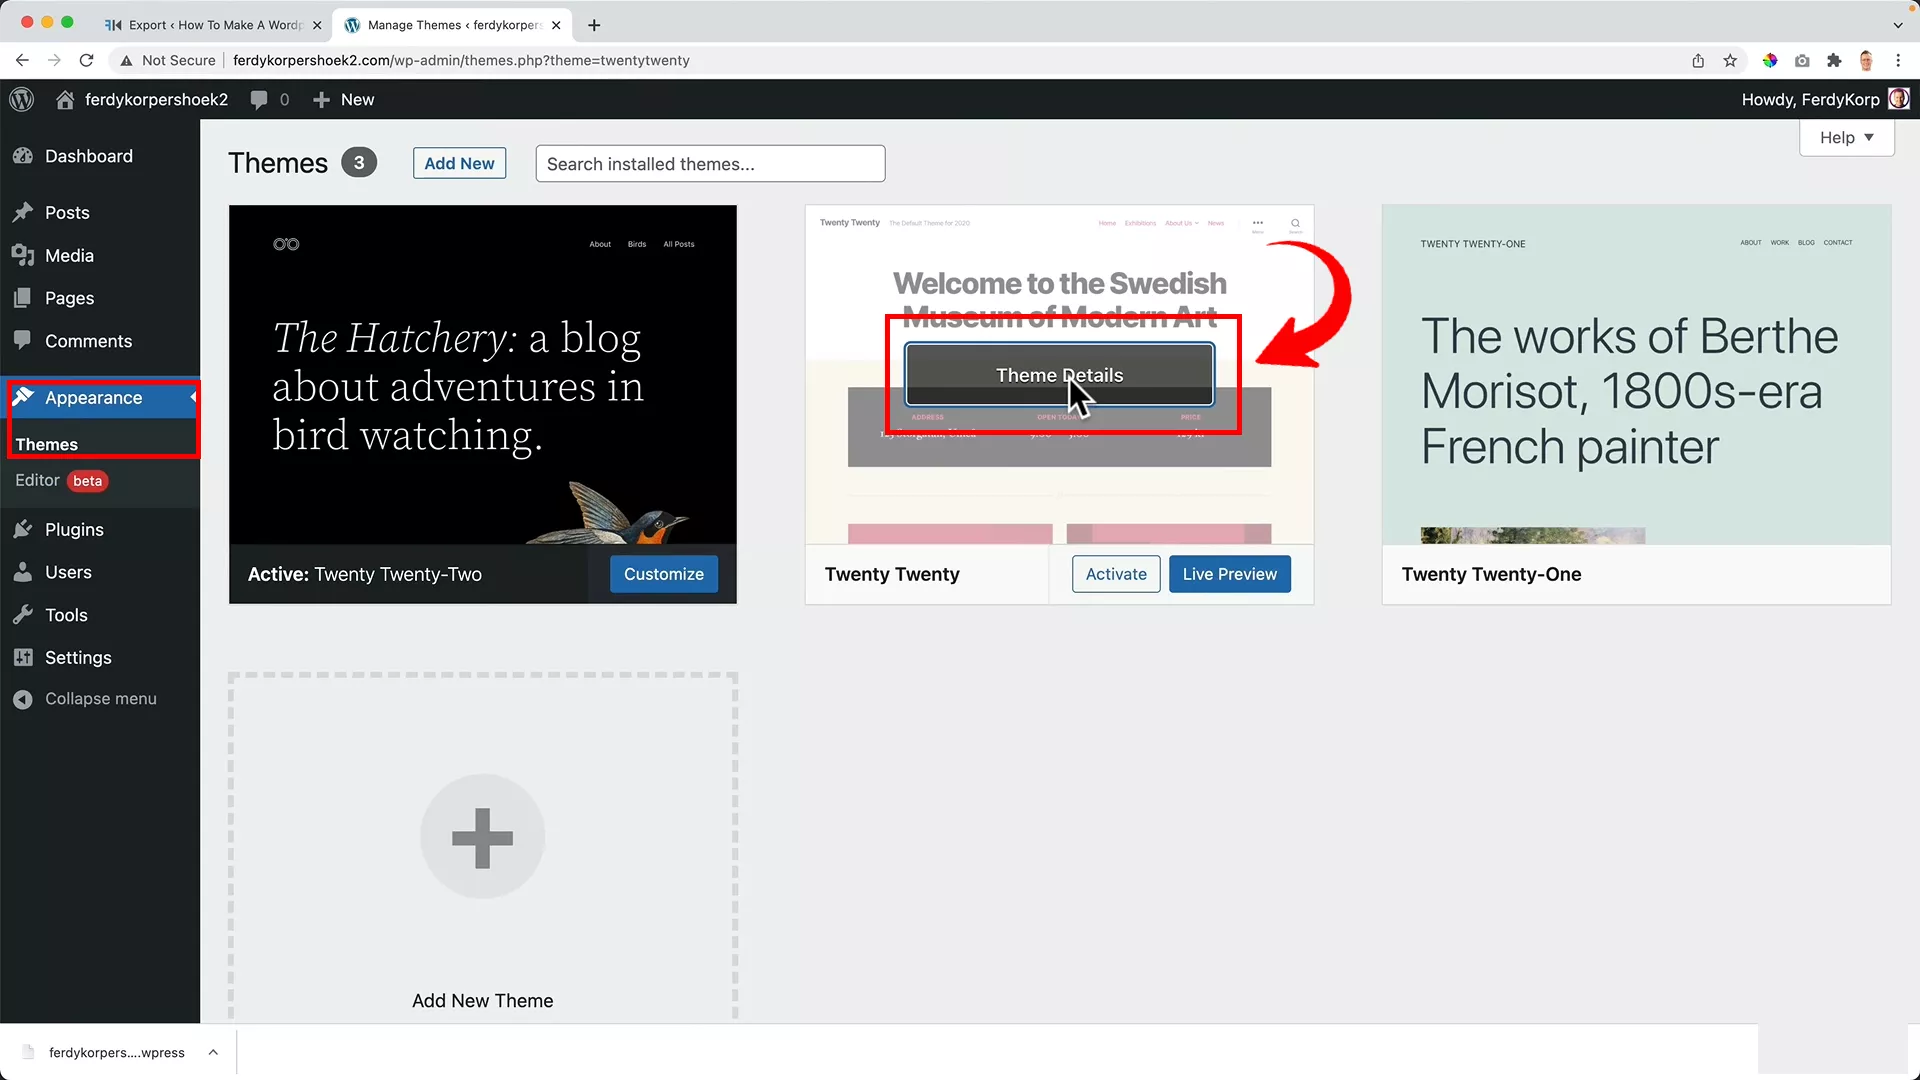
Finally, go to Appearance -> Themes and delete all themes that aren’t active.
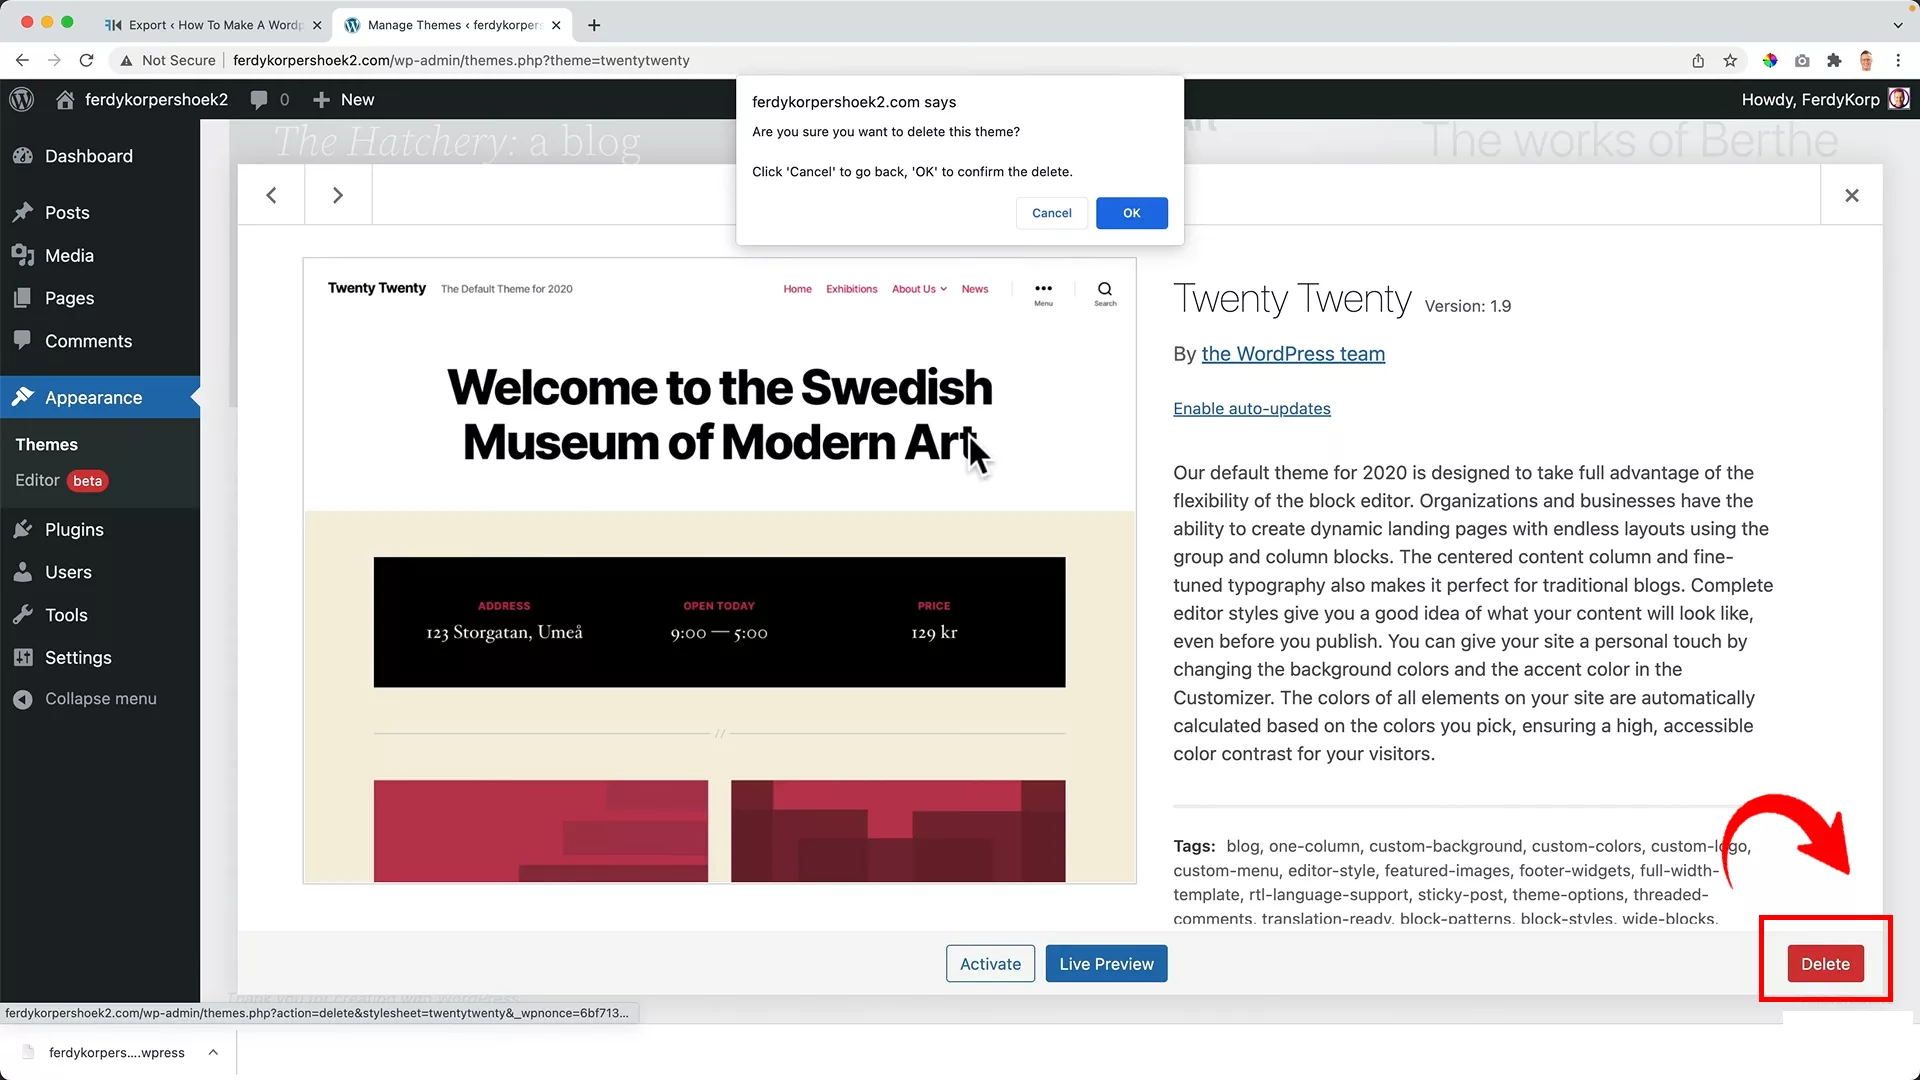
Simply click on each theme that’s not active and hit the Delete button on the bottom right corner of your screen.
Remember, the idea is to aim for a clean WordPress installation. We want a blank canvas ready for your site.
Creating this clean environment is vital. It avoids any potential conflicts or remnants of data that could affect your newly migrated site.
Think of it as setting the stage, ensuring that when your site arrives at its new home, it’s exactly as you left it. No surprises.
With your new domain prepared, you’re now ready to bring over your website.
However, don’t install the All-in-One WP Migration plugin on your new domain yet. Why, you may ask?
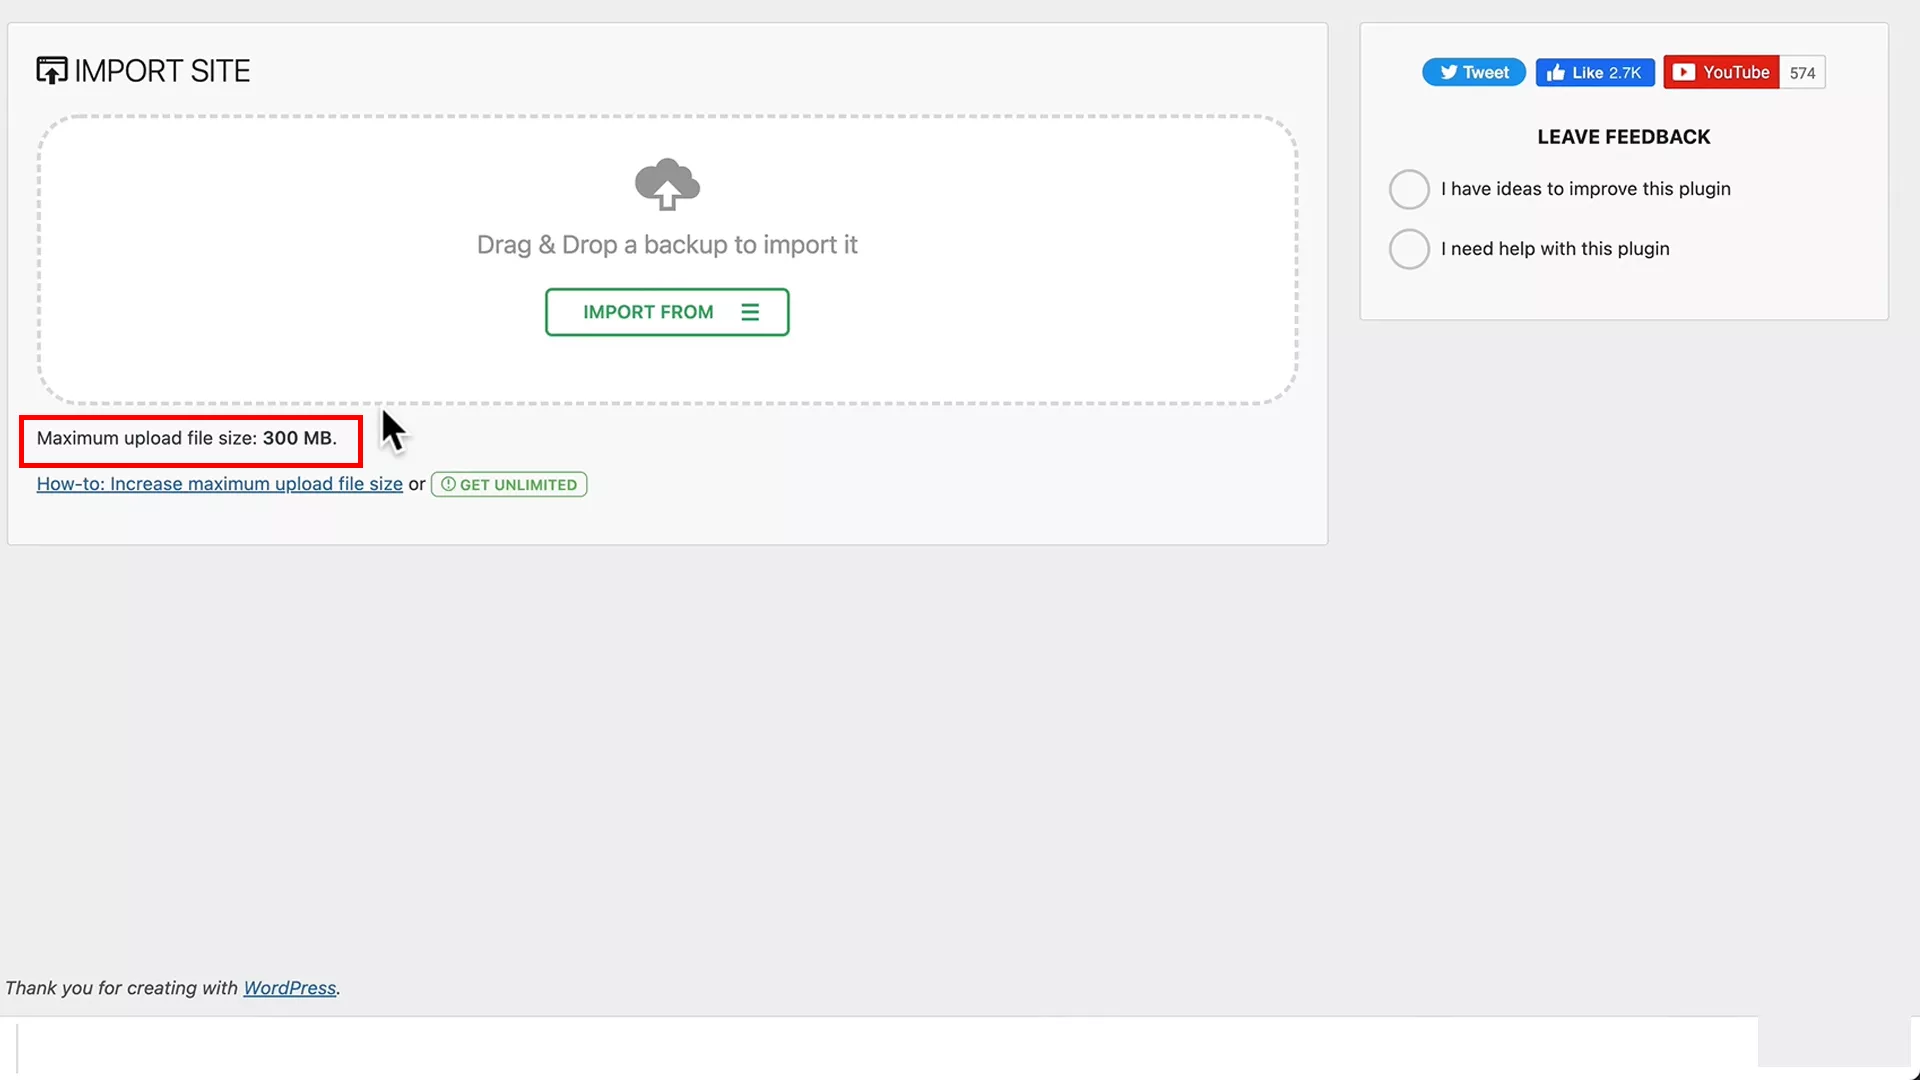
Just when you’re ready to import your website to the new domain, you’ll hit a snag if your website is larger than 300 MB, as was the case with my 12-GB site.
Disappointing, right? But don’t worry, there’s a neat workaround for this.
Overcoming import limitations
The trick lies in the GPL Version 3 license, which allows modifications to the original plugin. Thanks to WPress Doctor, a good friend of mine, who used this license to create a modified version of the All-in-One WP Migration plugin.
With this modification, the plugin can now handle websites up to a massive 100 GB! The modification was done legally, aligning with the open-source nature of the plugin under this license.
Here’s how to utilize this modified version:
First, if you’ve already installed the standard All-in-One WP Migration plugin, go ahead and deactivate and delete it from your new website.
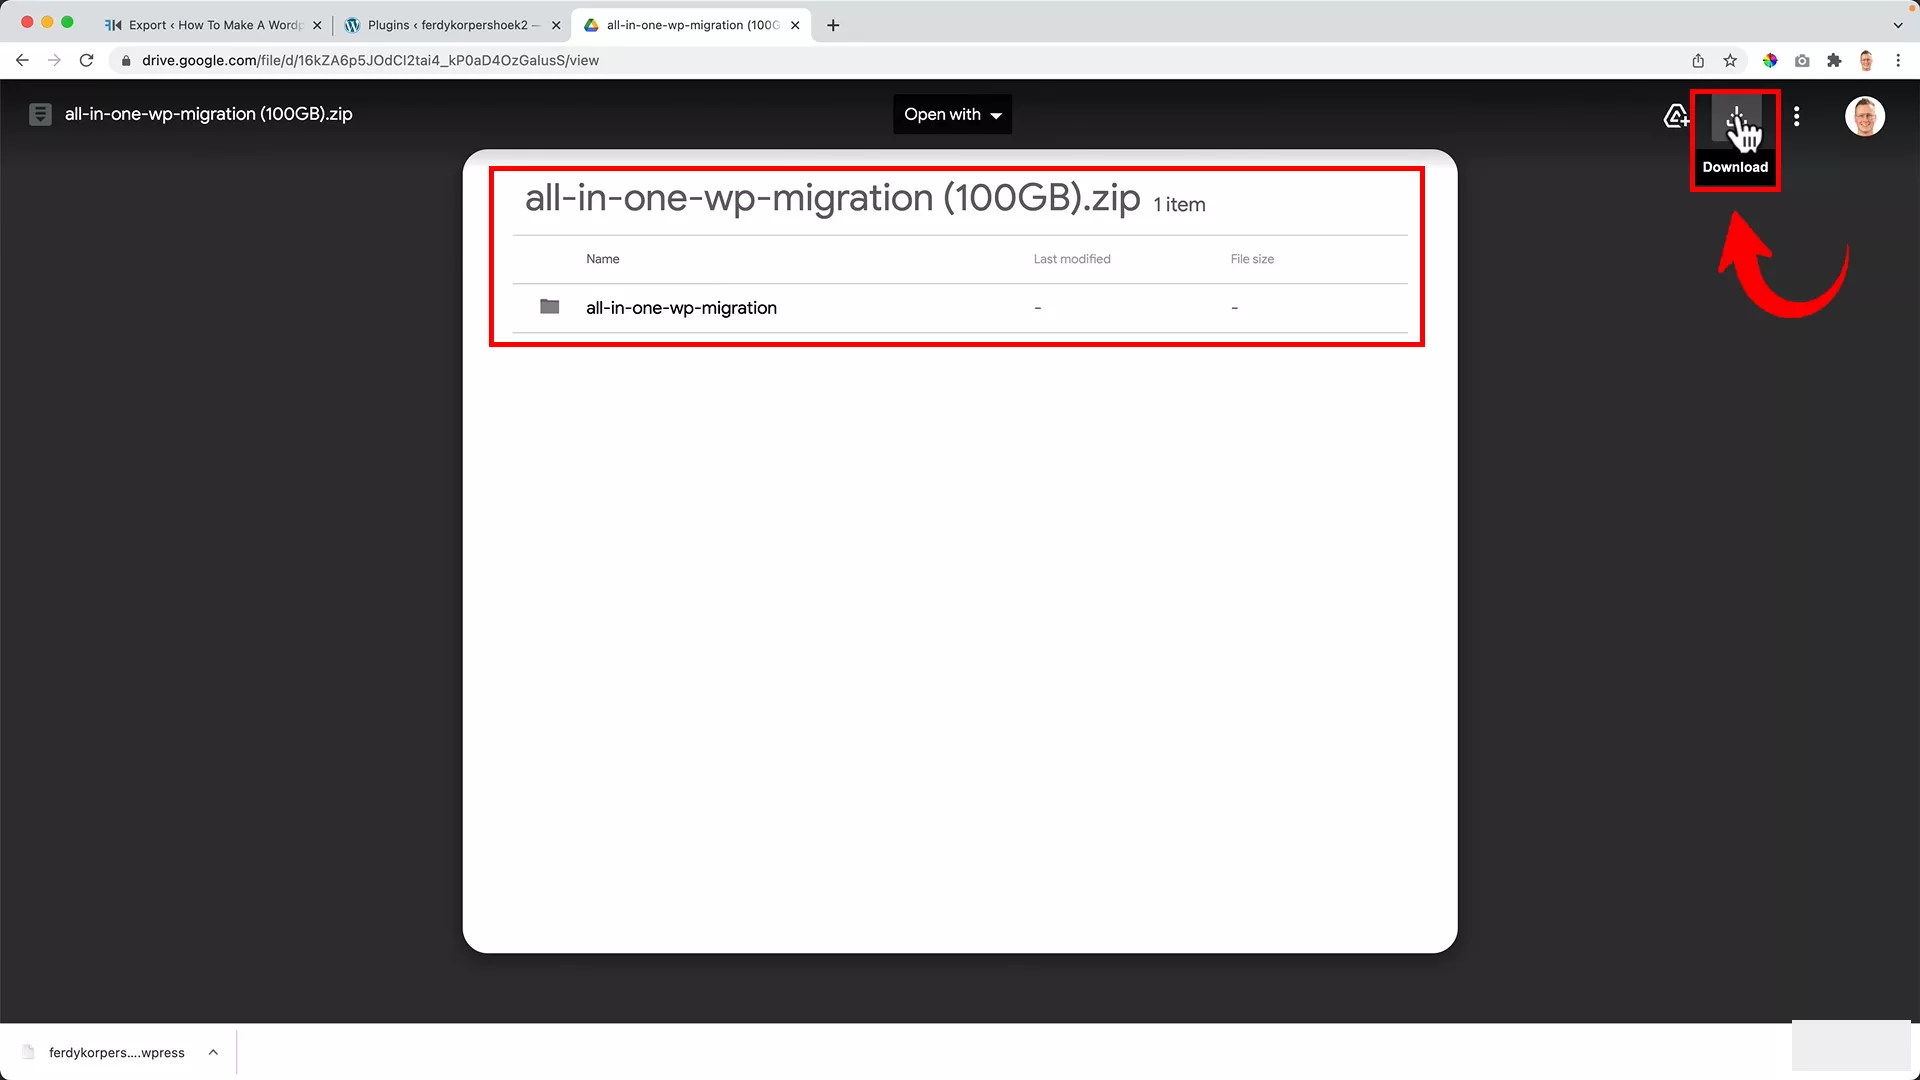
Next, head over to ferdykorp.com/migrate. This link will redirect you to the Google Drive of WPress Doctor, where you can download the modified plugin.
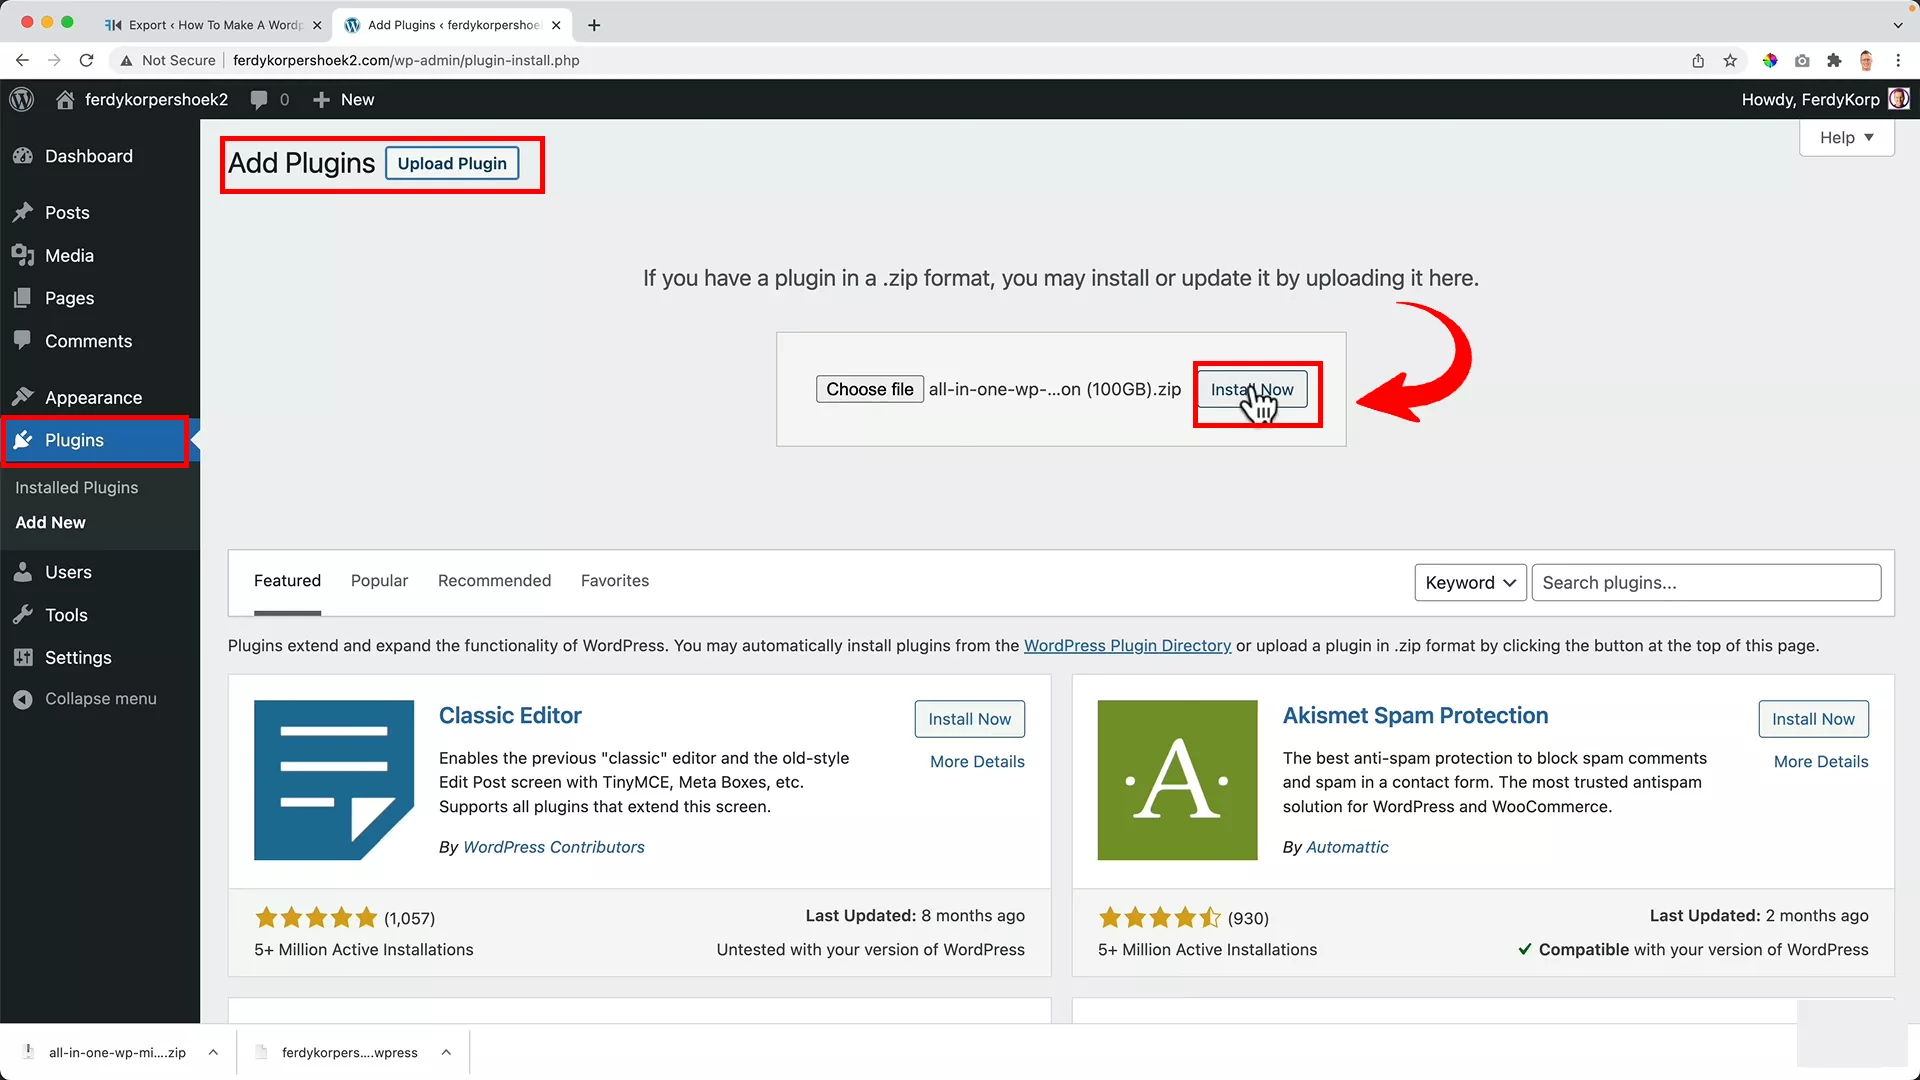
Back in your WordPress site, go to Plugins -> Add New -> Upload Plugin. Here, upload the downloaded file and install it. Proceed by activating the newly installed plugin.
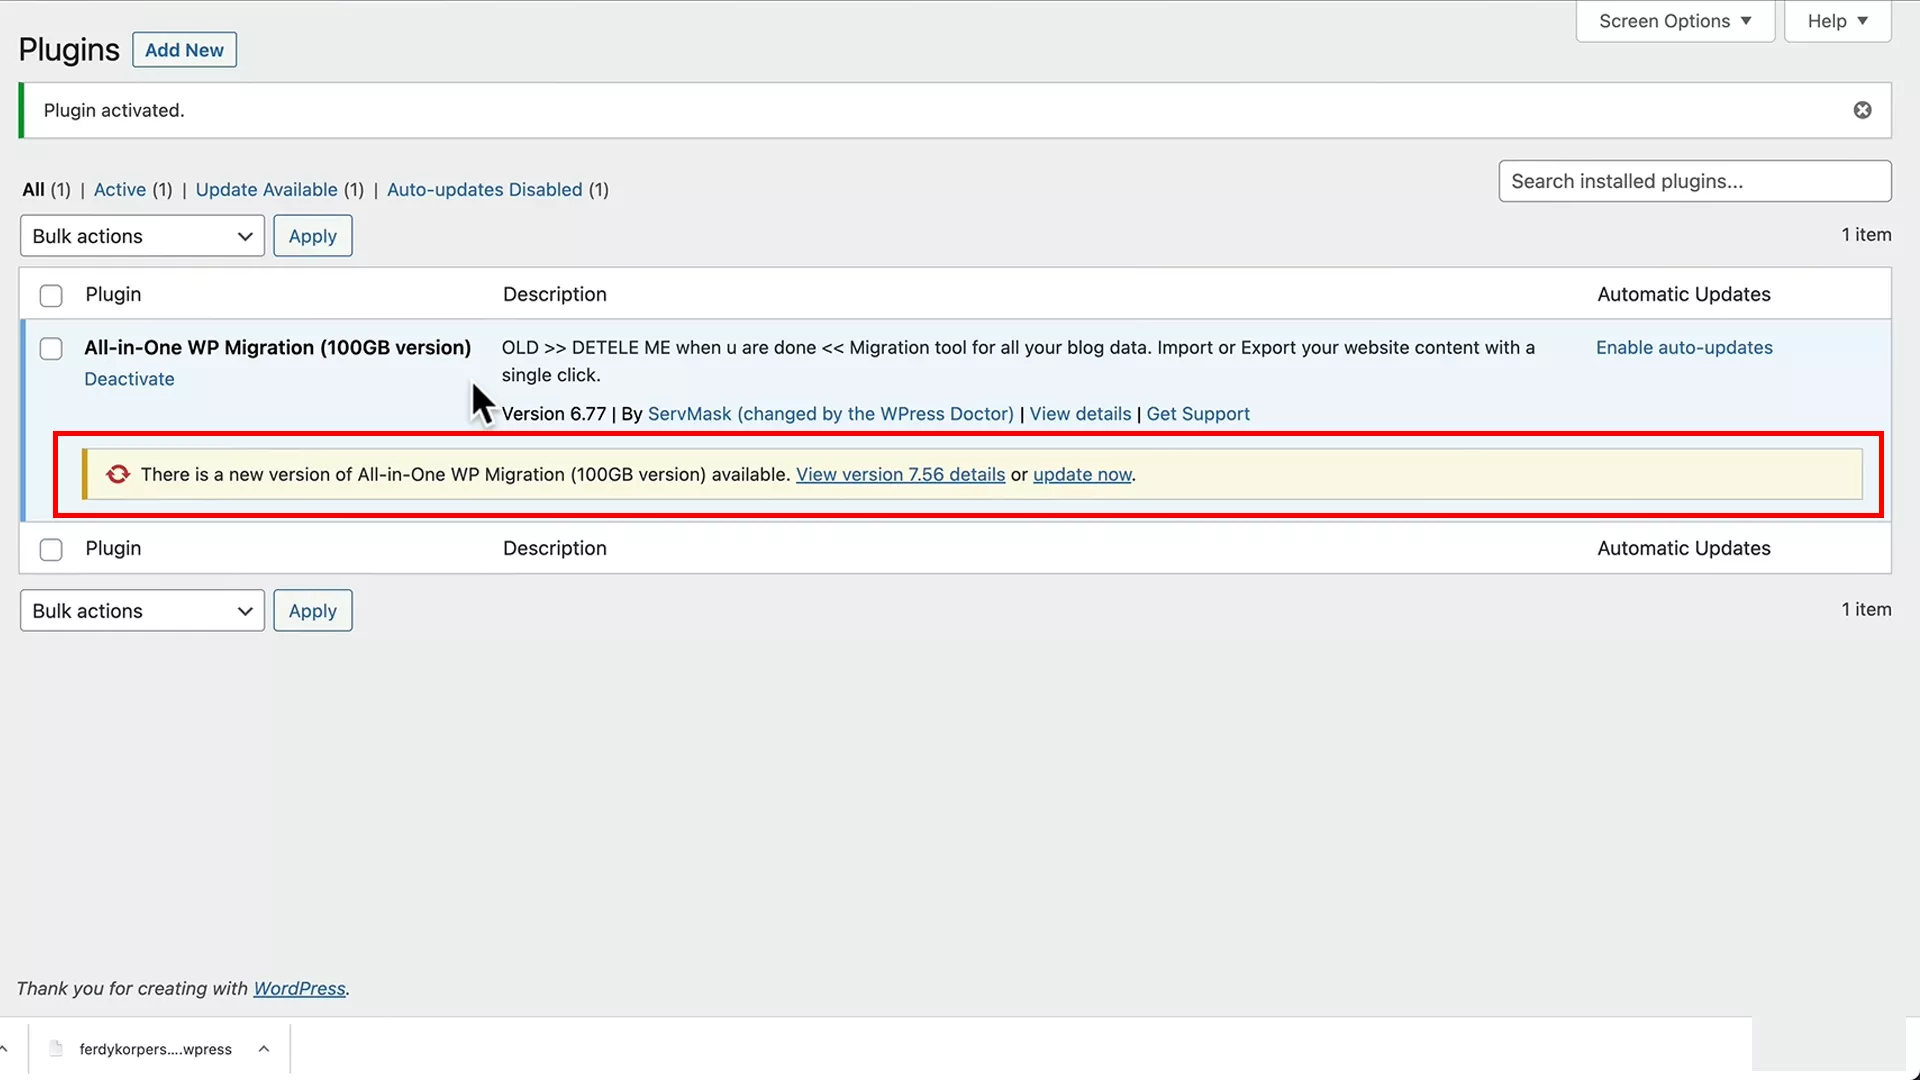
Upon activation, a message might pop up indicating that it’s not the latest version, but that’s okay. Updating it would bring back the 300-MB limit.
With this plugin installed and activated, you can import websites significantly larger than before, depending on your server’s capacity. If you still encounter limitations, contact your web hosting provider to increase your capacity.
With this approach, you can confidently handle even the most sizable websites for your migration needs.
Pro tip: Remove the modified All-in-one WordPress Migration plugin after your site migration for security and efficiency.
Importing your website
Now that our website is packed up and ready to move, let’s jump into the importing process. Here’s how I did it for my website, step by step:
Step #1: Performing the import
With the modified plugin installed, you’re ready to import your site.
Click the All-in-One WP Migration plugin -> Import.
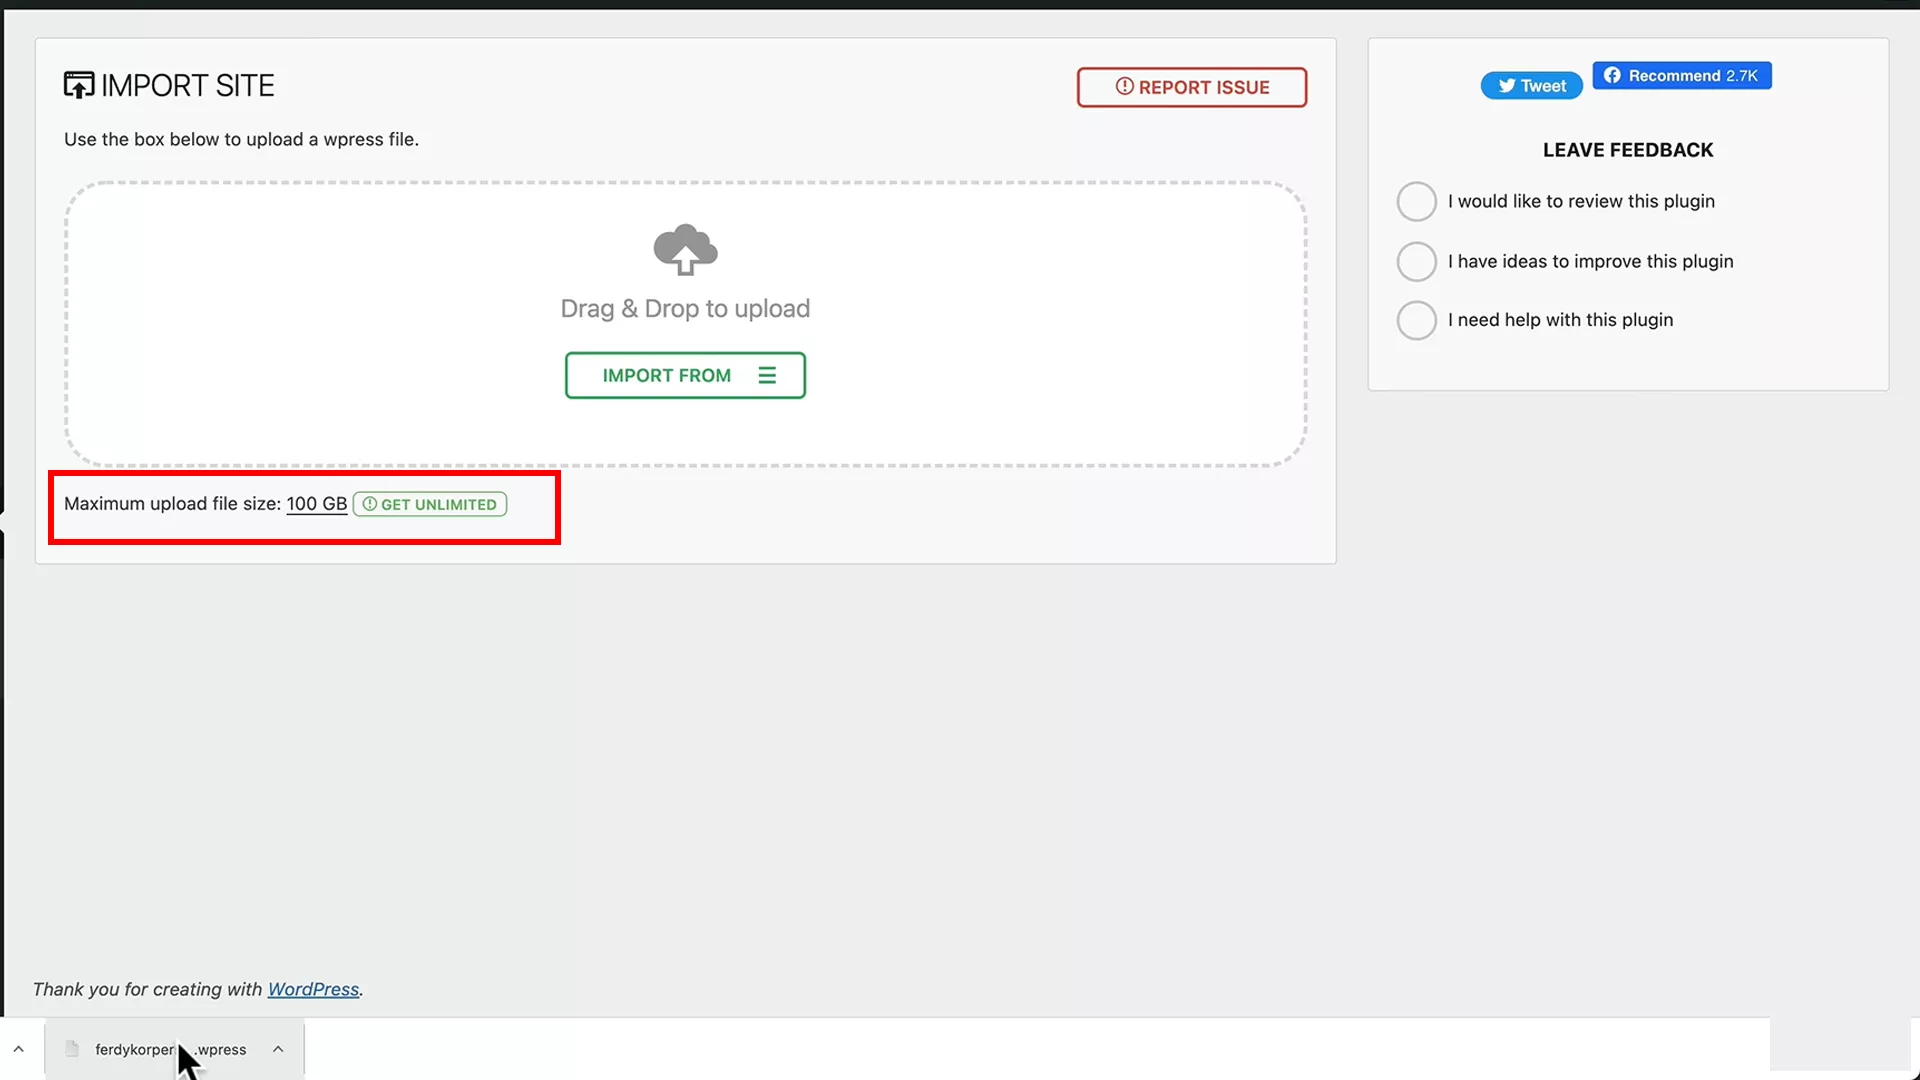
Notice that the max upload file size has now been upgraded to 100 GB.
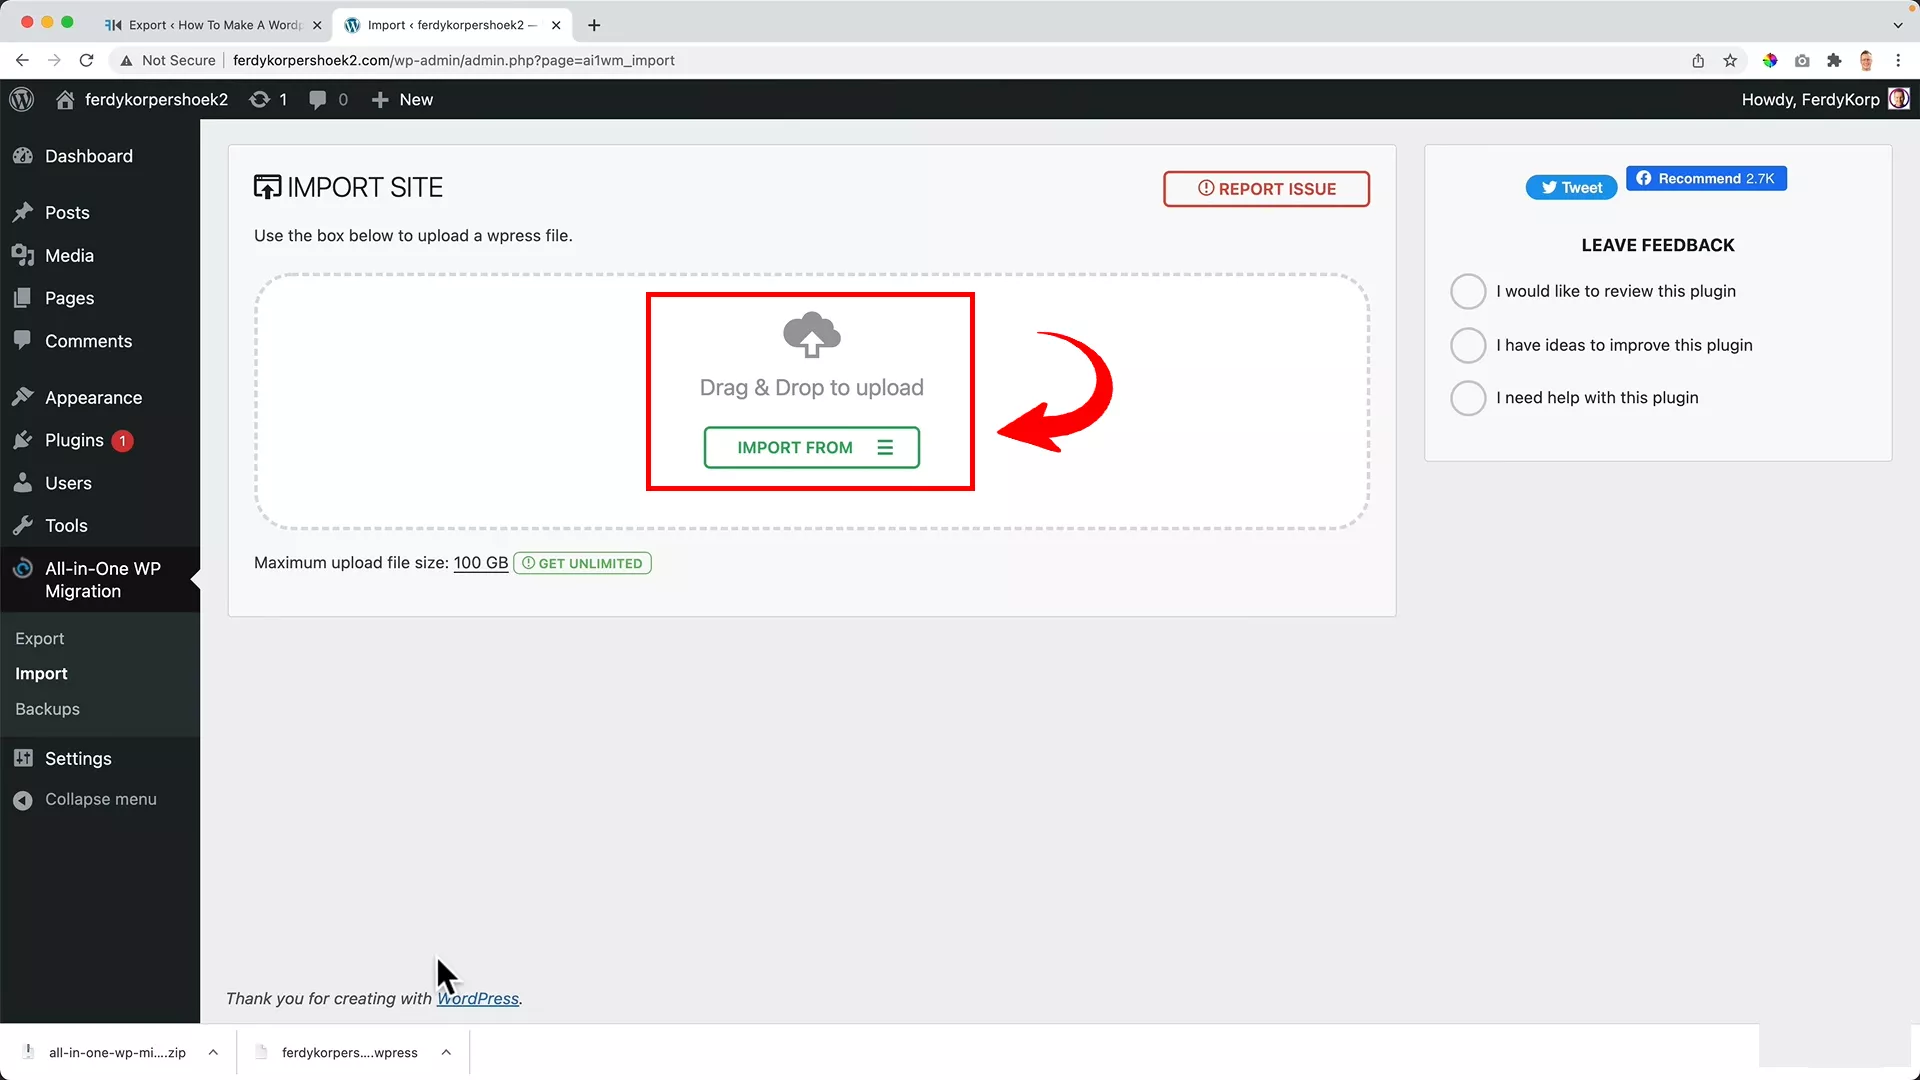
Here, you can upload the file you downloaded earlier. Just drag and drop it into the importer.
If your website is as large as mine, it might take some time, so feel free to take a break while it’s getting uploaded.
Step #2: Finalizing the migration
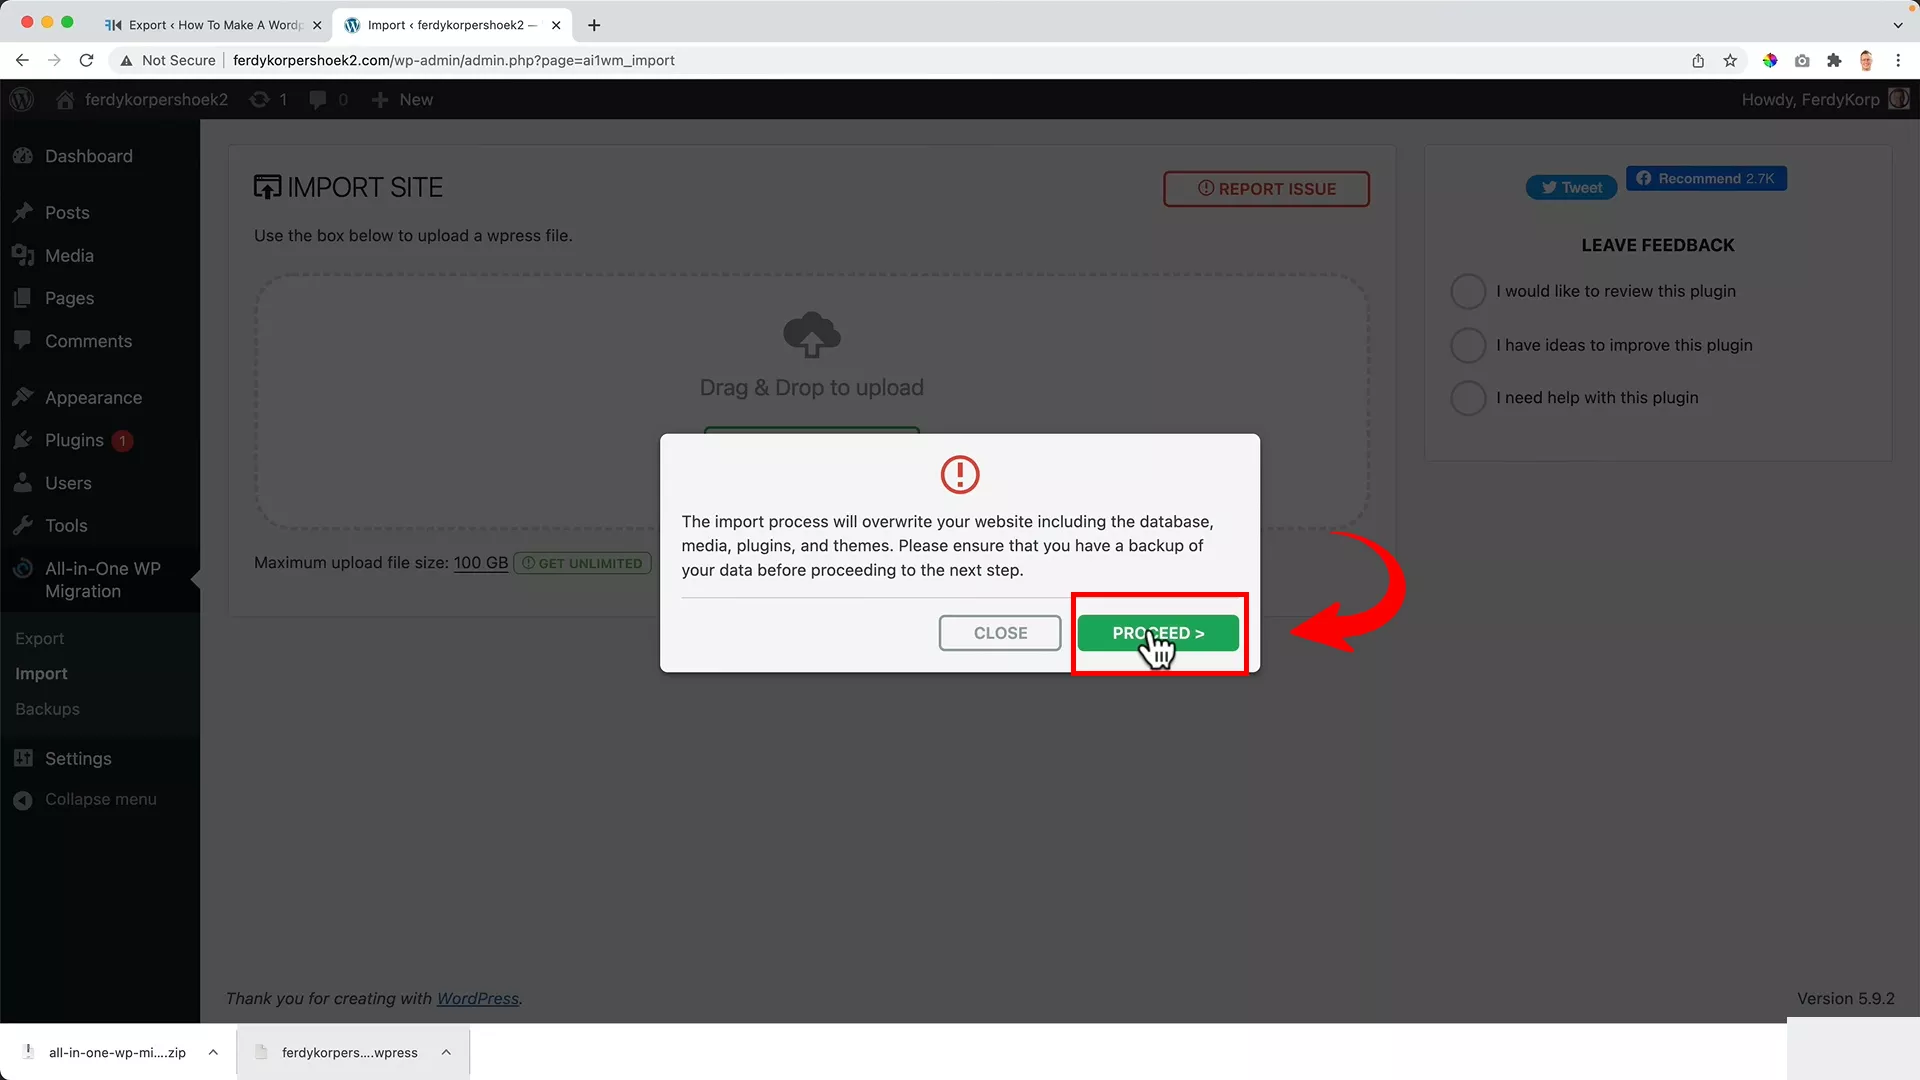
Once the upload is complete, click the Proceed button to finalize the import.
After a successful import, you’ll be prompted to subscribe to the WPress Doctor YouTube channel. That’s a small price for such a handy tool, right?
Step #3: Updating permalink settings
One last but critical step: update your permalink settings. This is essential for ensuring that all your links are working correctly on your new site.
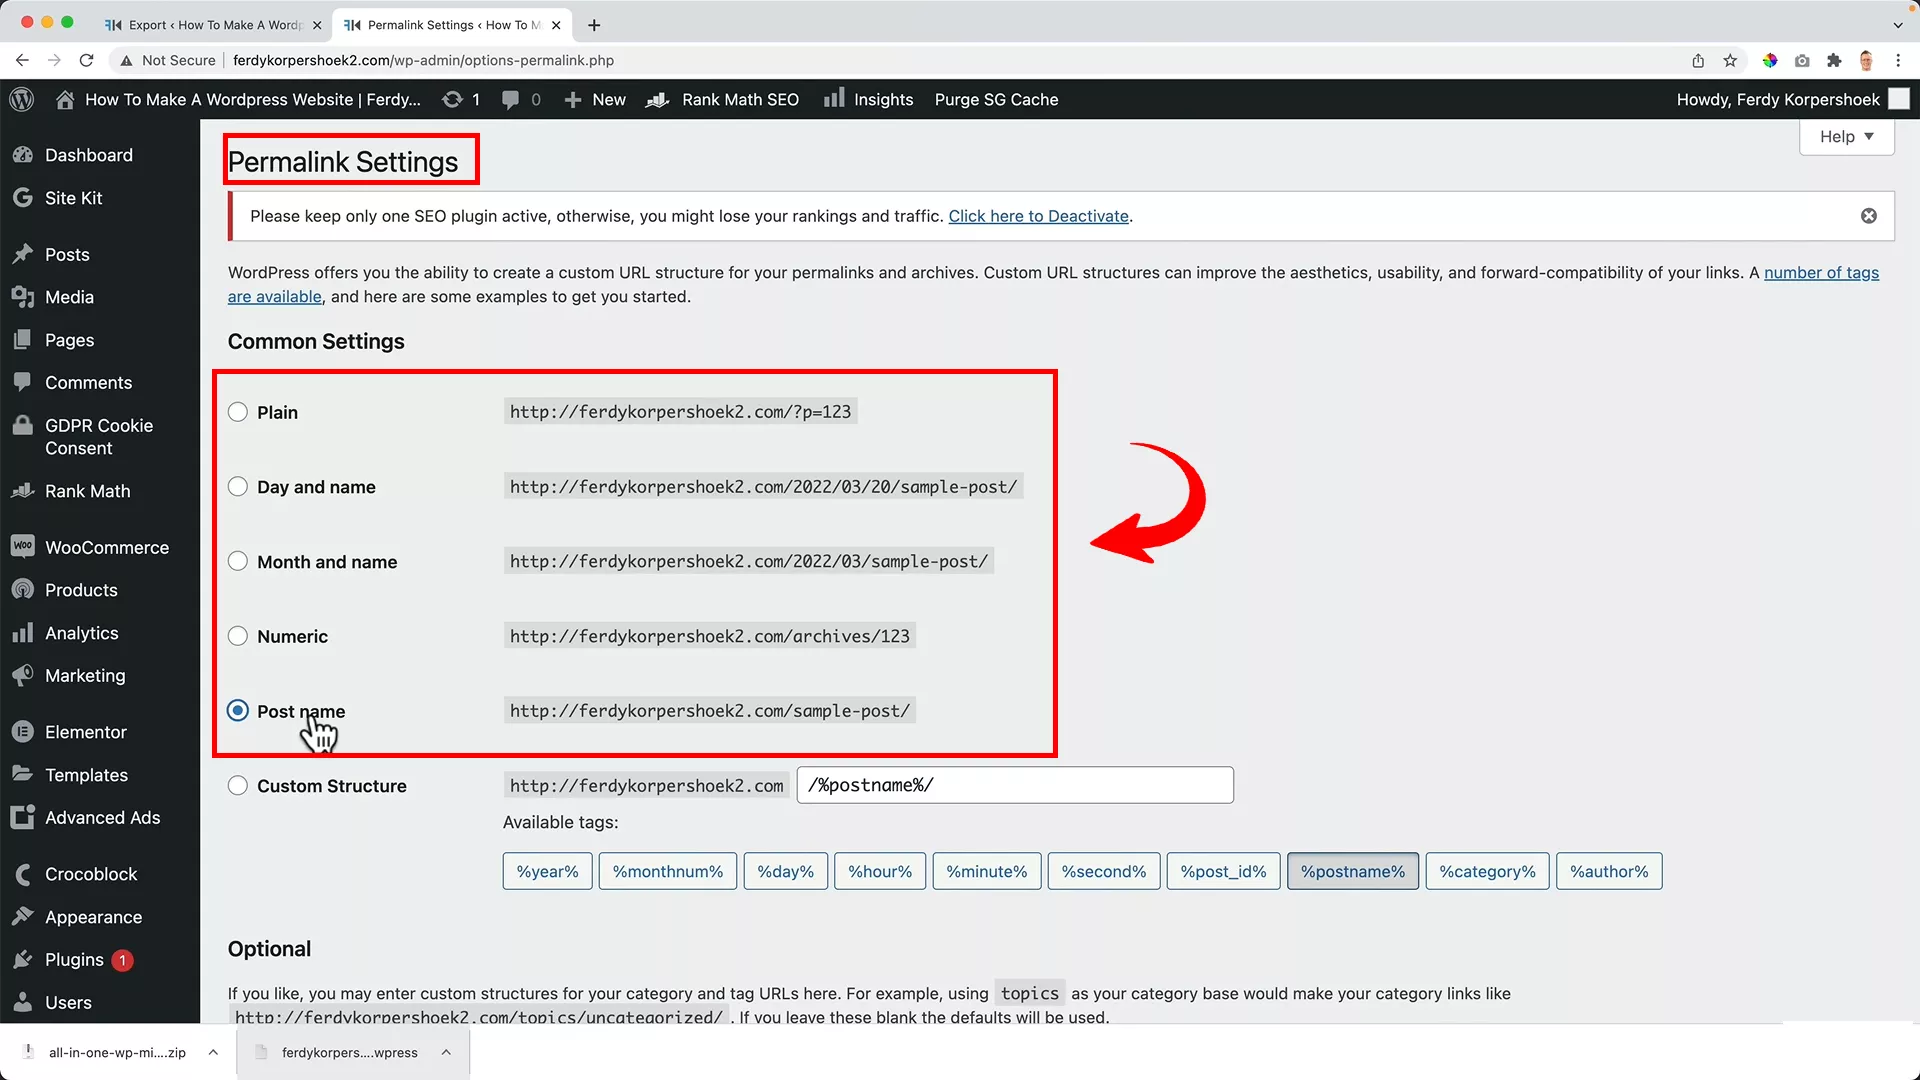
Just head over to Settings -> Permalinks. Change the Common Settings from Plain to Post name. Save the changes twice.
And voila! You’ve successfully migrated your website. It’s a good idea to browse around your new site to make sure everything looks and functions just like it did on your old site.
This process may seem a bit daunting at first, but with the right tools and steps, it’s totally doable. Plus, it’s free! Remember, every site is unique, so feel free to adjust these steps as needed for your specific situation.
Conclusion
So there you have it – a straightforward, cost-free way to migrate your WordPress site, no matter its size. Whether you’re dealing with a lightweight blog or a hefty e-commerce platform, this method is your ticket to a smooth transition.
Got any thoughts or questions about the site migration process? I’d love to hear them in the comments below. And hey, if you found this guide useful, consider subscribing to my YouTube channel. That’s where I upload in-depth tutorials related to WordPress.
Happy migrating!


Kaylisa
I also tried it today. I’m using godaddy hosting. It says incompatible archive.
Mark
Same issue for me ,did you get any solution?
Dominik
Hi Ferdy,
first of all – thanks a lot for all your excellent YouTube Tutorials and blog posts! Your videos let me build a new divi page without any problems!
Now I want to migrate a page to another domain and I tried to export the page with “All-in-One WP Migrate”.
But the export job always stucks at 55% – it shows to archive around 62000 files.
Is it normal and does it takes soo long (more than 2 hours with 55%) or does the export job have any problems?
Thanks a lot in advance!
Best Regards,
Dominik
Vijay Reddy
Installing failed due to missing style css file was the response I got. What to do?
Okade Augustine
This is a bug introduced in WordPress 6.4.3 in which Mac OS zip archives won’t work with WordPress.
You have to unzip it and locate the folder ‘all-in-one-wp-migration’ and open it, then zip out the contents of this folder and retry to install again in WordPress. you’re done.